Creating an outdoor kitchen transforms your backyard into a culinary oasis where food, family, and fresh air come together. This investment extends your living space while adding significant value to your property. With proper planning, your outdoor kitchen becomes the ultimate entertainment hub for gatherings throughout the seasons.
Outdoor cooking spaces have evolved beyond simple grills on patios. Modern designs incorporate full-scale kitchens with professional appliances, comfortable seating, and weatherproof materials. Whether you’re planning a modest setup or an elaborate cooking station, understanding the fundamentals ensures your project succeeds. These six essential tips guide you through creating a functional, beautiful outdoor kitchen that enhances your lifestyle and home value.
1. Location and Layout Strategy
Choosing the right location sets the foundation for your outdoor kitchen’s success. Your cooking area should be strategically positioned near your indoor kitchen for easy access to supplies and ingredients. This proximity reduces trips back and forth while preparing meals. Consider prevailing wind patterns to ensure smoke moves away from seating areas and your home.
The layout must maximize workflow efficiency through proper work triangle placement. Position your grill, sink, and refrigeration in a triangular configuration similar to indoor kitchens. This arrangement minimizes unnecessary movement while cooking. Factor in at least 36 inches of counter space for food preparation between major appliances. Traffic flow matters tremendously—create clear pathways that keep guests away from hot cooking surfaces.
Think about views and privacy when selecting your spot. You want visual connections to both your yard and indoor spaces while maintaining some seclusion from neighbors. Morning sun exposure might be pleasant, but intense afternoon heat can make cooking uncomfortable. Evaluate shade options through existing trees, pergolas, or planned structures. Remember that accessibility to utilities like water, gas, and electricity significantly impacts construction costs.
- Position kitchen within 15 feet of indoor kitchen for convenience
- Account for prevailing winds to direct smoke appropriately
- Ensure level ground or budget for proper foundation work
- Consider proximity to existing utility lines to reduce costs
- Plan for adequate lighting from both natural and artificial sources
- Factor in views from indoor spaces and outdoor seating areas
2. Weather Protection and Durability
Your outdoor kitchen faces constant exposure to environmental challenges that indoor spaces never encounter. Rain, snow, intense sun, and temperature fluctuations all threaten your investment. Selecting weather-resistant materials ensures longevity and reduces maintenance headaches. Stainless steel appliances rated for outdoor use withstand moisture and temperature variations far better than standard models.
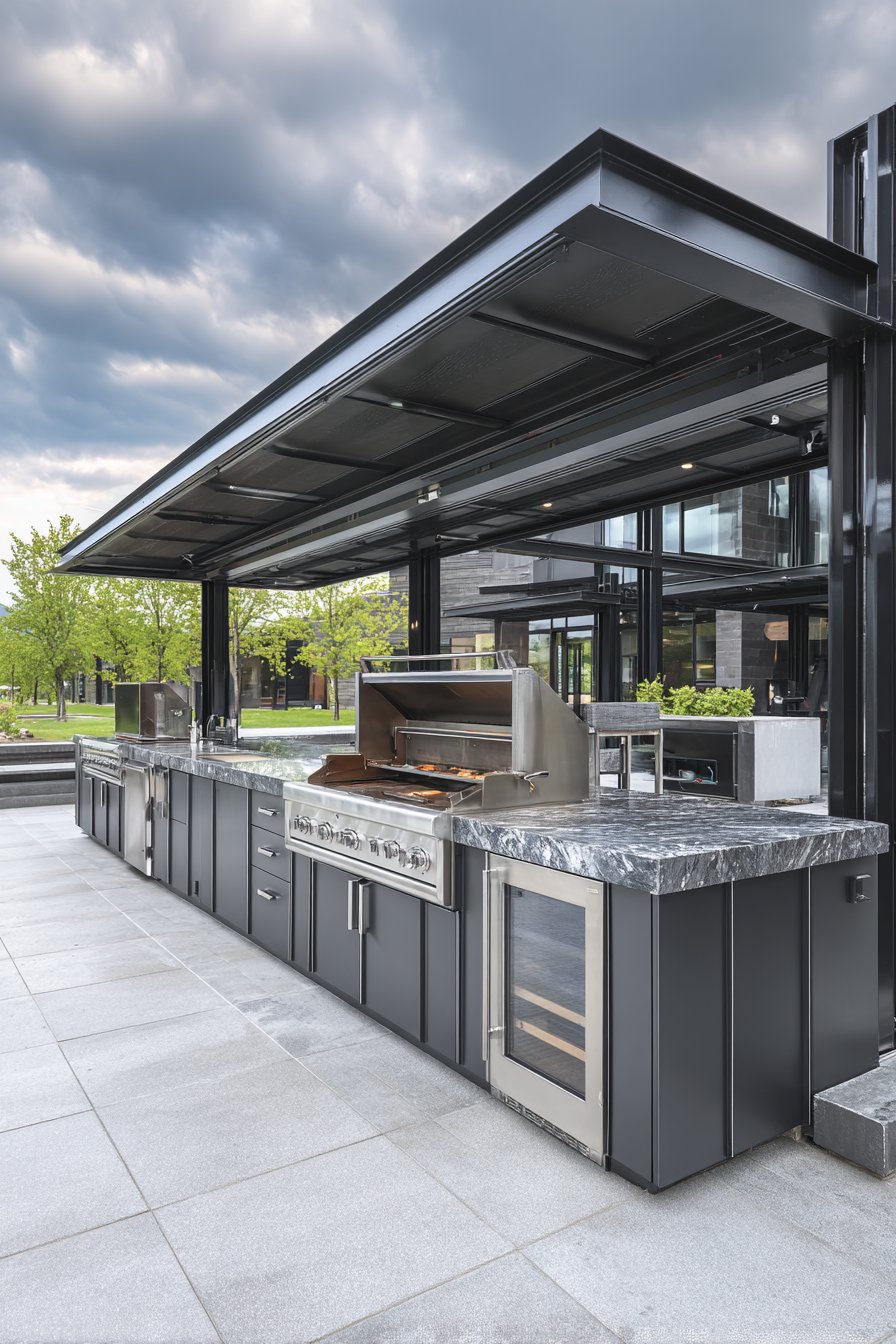
Covered structures provide essential protection for both your equipment and cooking comfort. A solid roof or pergola shields your workspace from precipitation and harsh sunlight. This coverage extends your cooking season significantly in regions with variable weather. Consider retractable awnings for flexibility between open-air and protected cooking experiences. Proper drainage systems prevent water accumulation that damages cabinetry and structural elements.
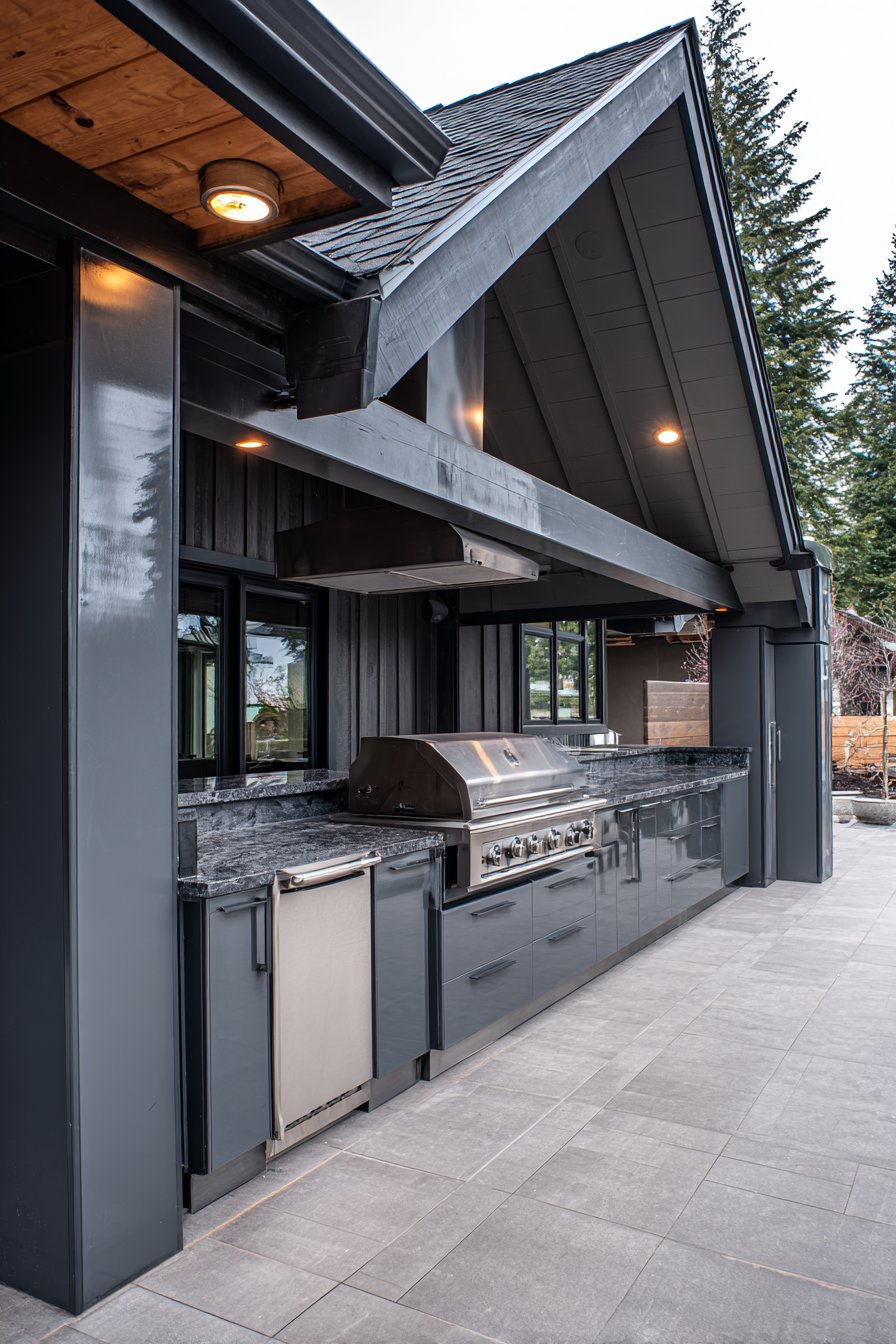
Material selection dramatically affects durability and maintenance requirements over time. Stone countertops like granite resist weathering while providing heat-resistant work surfaces. Marine-grade polymer cabinets outperform wood in moisture resistance without sacrificing aesthetics. Porcelain tile flooring handles freeze-thaw cycles better than natural stone in cold climates. Invest in quality now to avoid costly replacements later.
- Choose 304 or 316 grade stainless steel for maximum corrosion resistance
- Install proper ventilation systems under covered areas to prevent heat buildup
- Apply sealants to porous materials like concrete and natural stone annually
- Select powder-coated finishes for metal components to resist fading
- Invest in weatherproof covers for appliances during off-seasons
- Ensure proper slope in flooring for effective water drainage
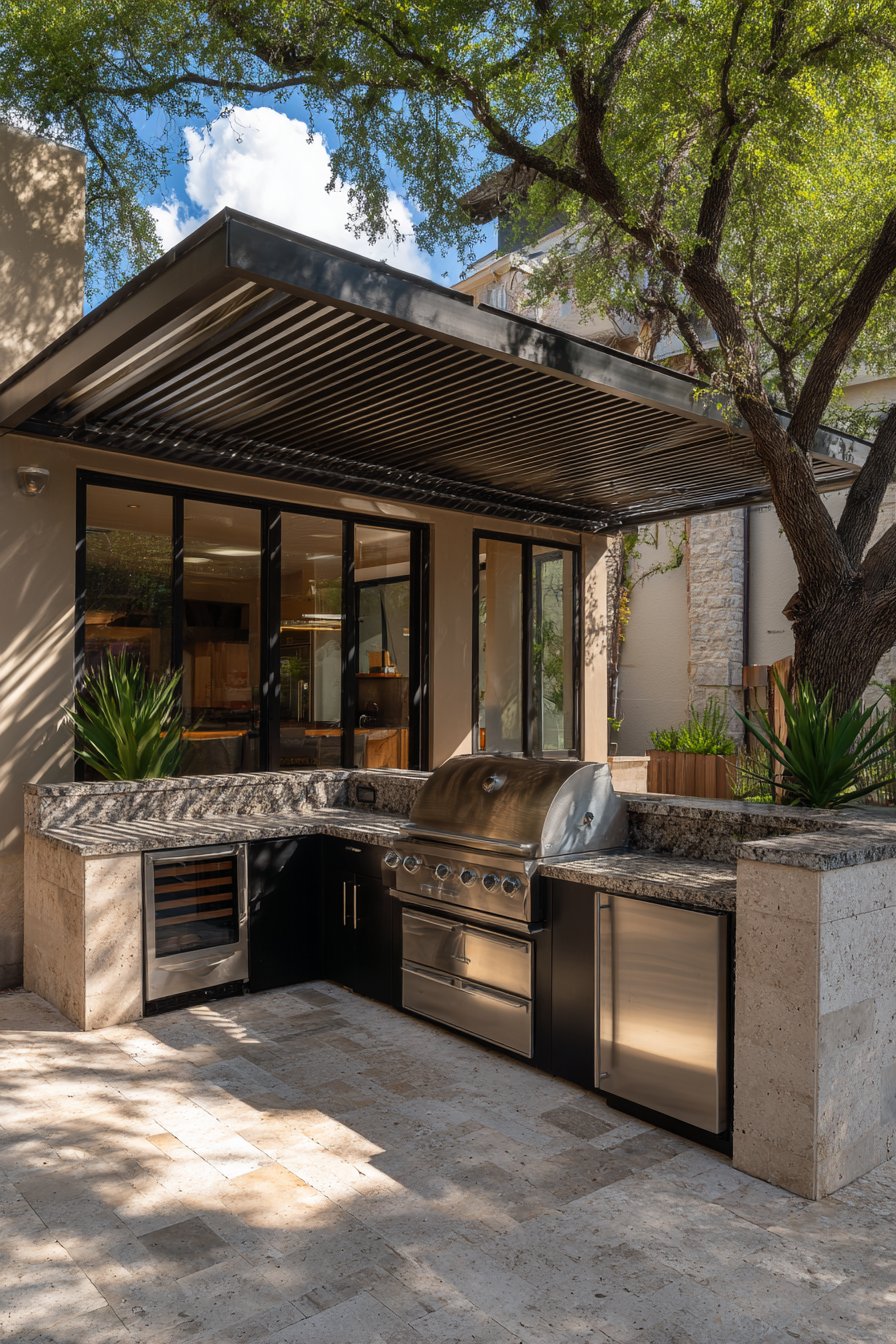
3. Essential Appliance Selection
The appliances you choose define your outdoor kitchen’s functionality and capabilities for years to come. Start with a quality grill as your centerpiece—whether gas, charcoal, or pellet depends on personal preference. Built-in grills provide a polished look while freestanding options offer flexibility. Consider BTU output relative to cooking surface area for adequate heating power.
Beyond the grill, a refrigeration unit keeps ingredients fresh and beverages cold without indoor trips. Outdoor-rated refrigerators and beverage centers withstand temperature fluctuations better than repurposed indoor models. Side burners expand your cooking options for sauces, sides, and boiling. Many outdoor chefs find these burners become their most-used feature after the main grill.
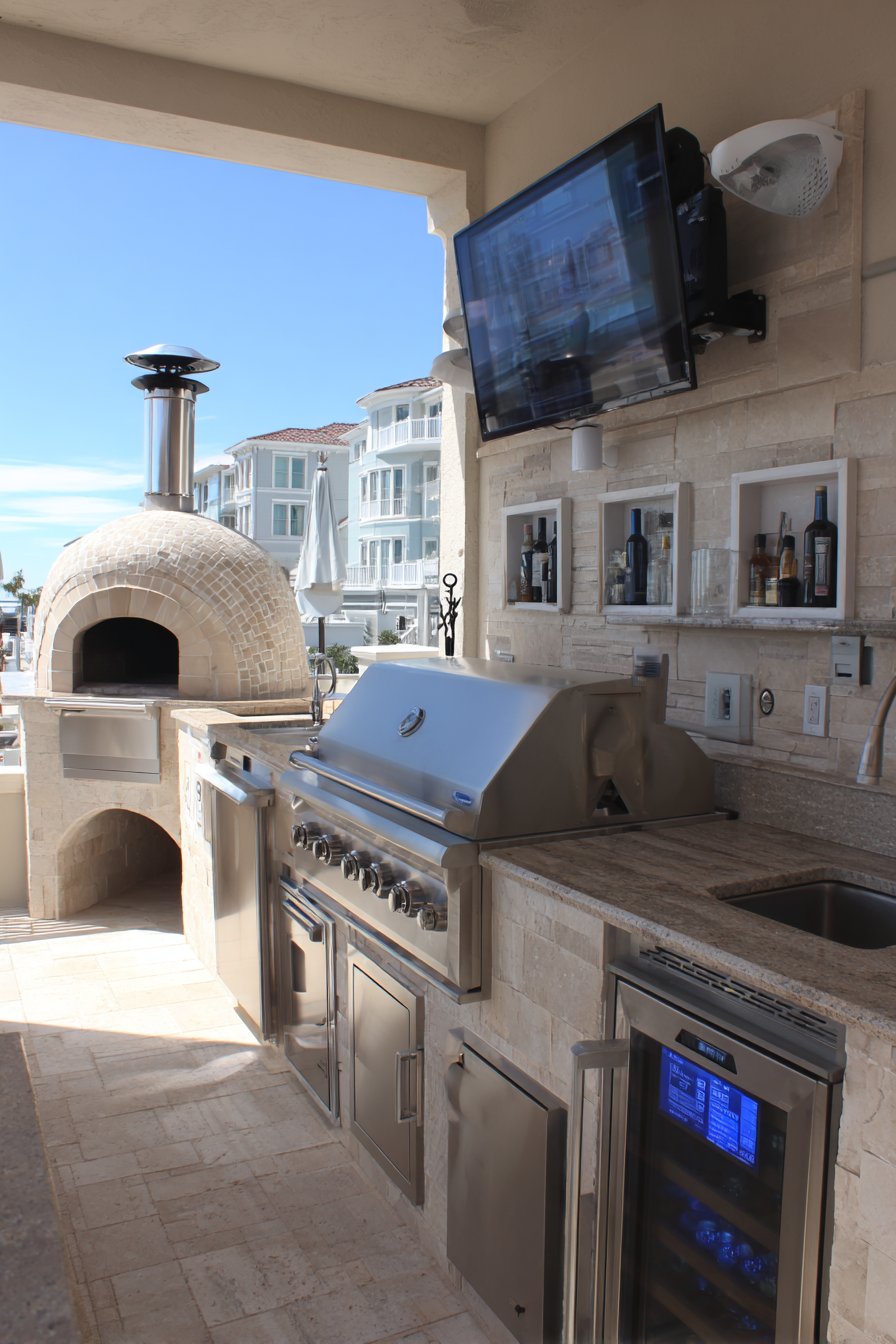
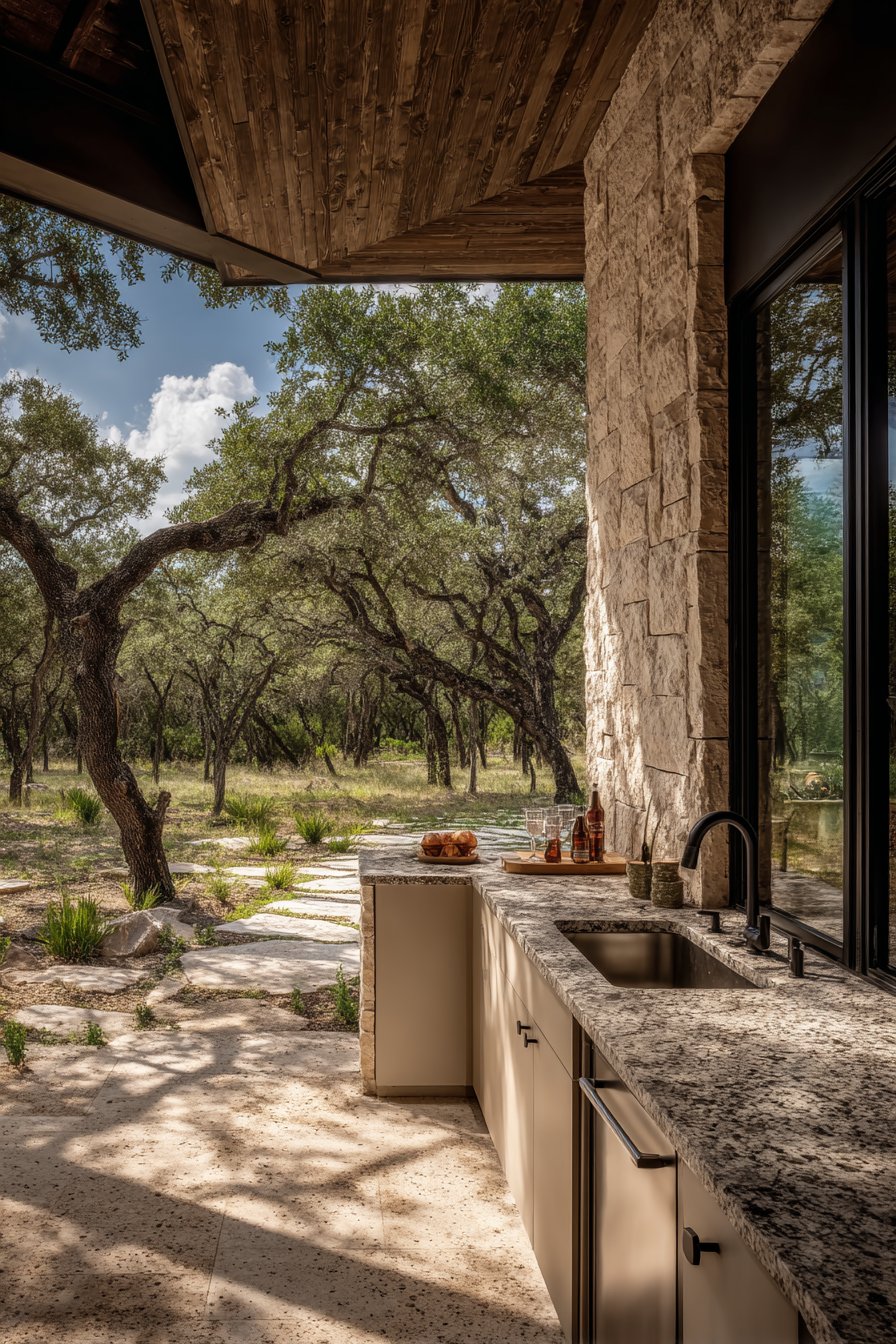
A sink with running water elevates convenience and hygiene significantly. This addition enables proper food preparation and cleanup without constant indoor access. Install a garbage disposal if local codes permit for efficient waste management. Pizza ovens have surged in popularity, creating restaurant-quality results at home. Assess your actual cooking habits before buying specialty appliances that might see limited use.
- Match grill size to typical guest count—oversized units waste energy and space
- Ensure all appliances carry outdoor ratings from recognized testing laboratories
- Plan electrical outlets for small appliances like blenders and warming trays
- Consider built-in warming drawers to keep food at serving temperature
- Install task lighting above all food preparation and cooking zones
- Include adequate storage for utensils, seasonings, and frequently used items
4. Counter Space and Storage Solutions
Adequate counter space separates functional outdoor kitchens from frustrating cooking experiences every time you entertain. Plan for at least 48 inches of prep space adjacent to your grill for plating and ingredient staging. Additional landing zones near the sink and refrigerator improve workflow efficiency. L-shaped or U-shaped configurations typically provide more usable counter area than straight runs.
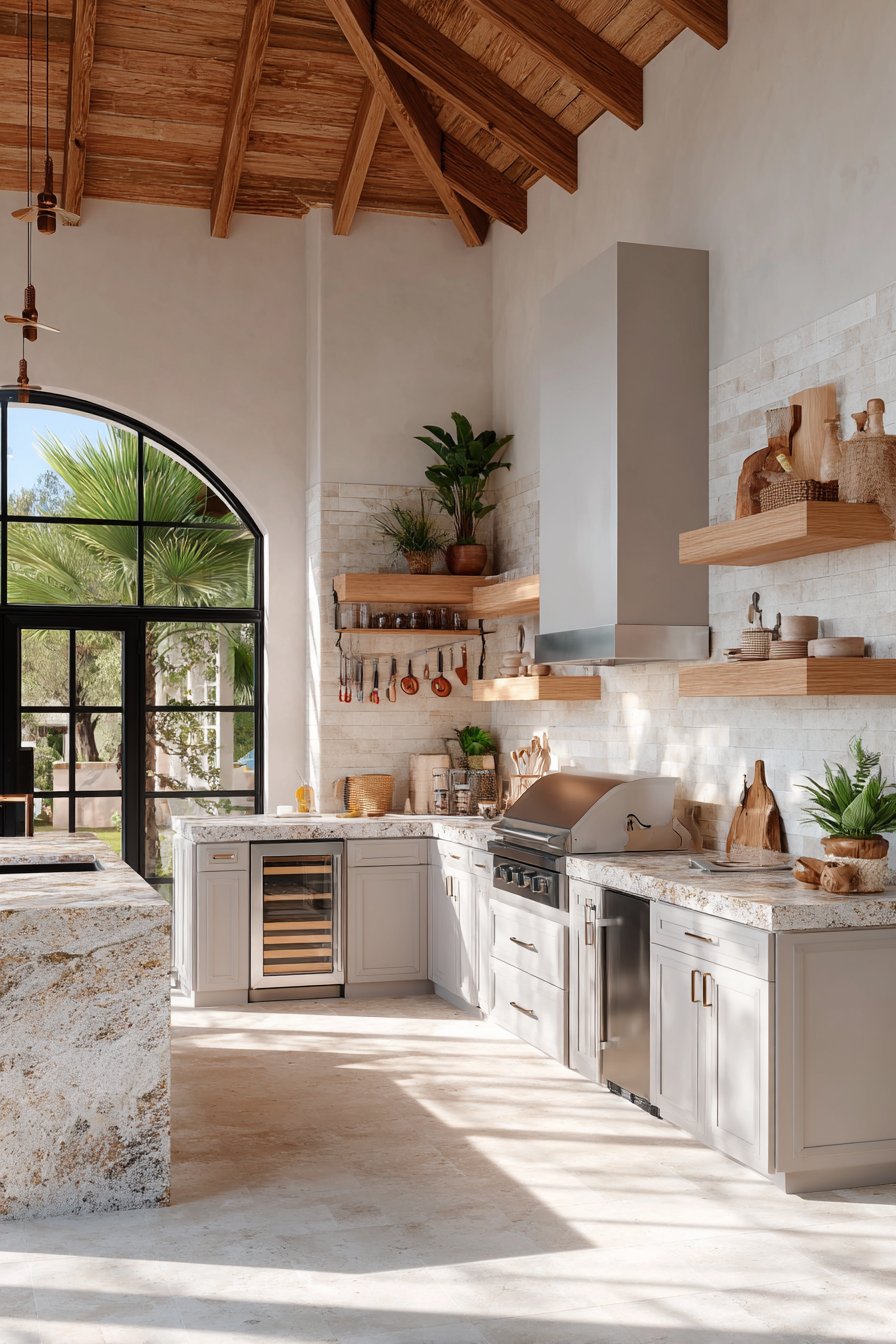
Storage needs careful planning since outdoor kitchens lack the extensive cabinetry found indoors. Enclosed cabinets protect dishes, cookware, and dry goods from weather and pests. Drawers organize utensils and small tools within easy reach. Open shelving displays decorative items but requires weather-resistant pieces. Consider pull-out trash and recycling bins that hide waste while remaining accessible.
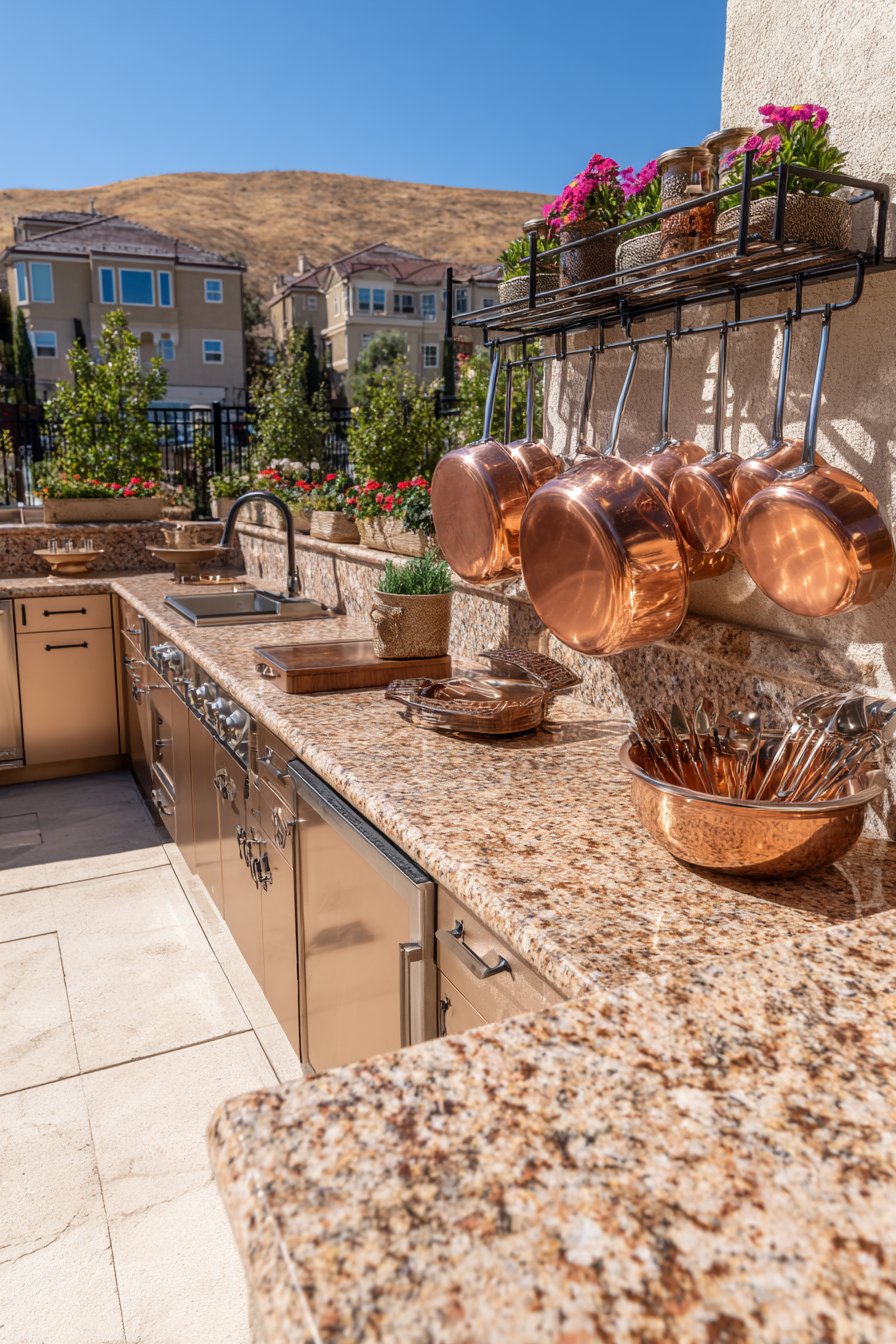
Vertical storage maximizes space in compact outdoor kitchens through wall-mounted solutions like magnetic knife strips and hanging pot racks. Overhead cabinets work when properly sealed against moisture infiltration. Built-in spice racks keep seasonings organized and readily available during cooking. Don’t forget dedicated storage for propane tanks, charcoal, and wood pellets away from heat sources.
- Include at least 18 inches of counter space on each side of cooktop
- Specify soft-close hinges and drawer glides rated for outdoor moisture exposure
- Install outlets within countertop areas for small appliance convenience
- Choose counter materials that resist staining from food oils and acidic ingredients
- Add hooks inside cabinet doors for frequently used tools and towels
- Plan seasonal storage location for cushions and fabric items during winter months
5. Lighting and Electrical Planning
Proper lighting extends your outdoor kitchen’s usability into evening hours when many people actually enjoy cooking outside. Task lighting illuminates work surfaces, cooking areas, and food preparation zones for safety and precision. Under-cabinet LED strips provide efficient, focused light exactly where needed. Position fixtures to eliminate shadows on cutting boards and grills.
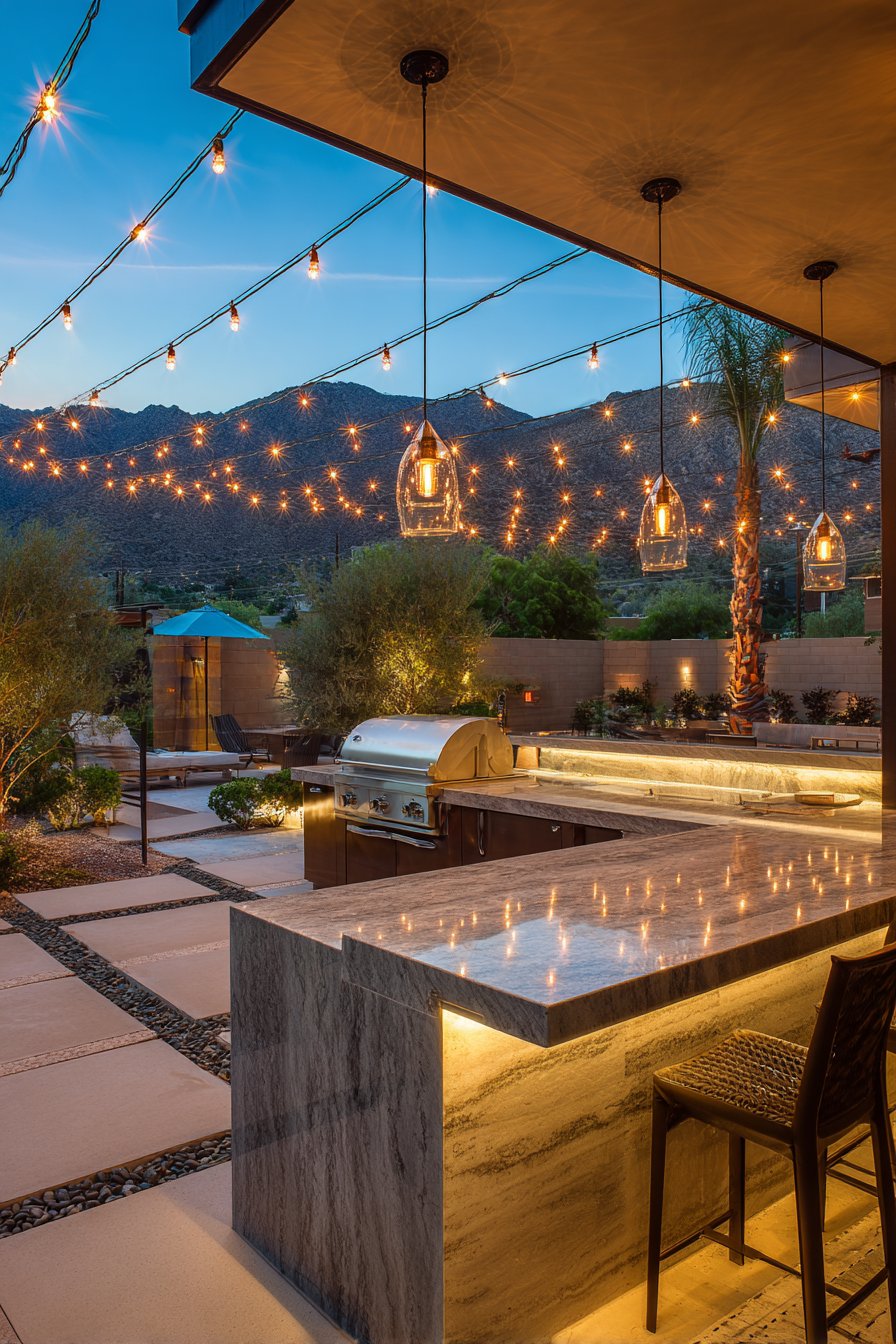
Ambient lighting creates atmosphere while ensuring guests navigate safely around your entertainment space. String lights, lanterns, and landscape lighting establish mood without overwhelming brightness. Consider dimmable systems that adjust intensity based on activity level and time of evening. Path lighting guides traffic flow between your outdoor kitchen and other yard areas.
Electrical planning requires professional installation to meet safety codes and handle outdoor exposure conditions. Ground fault circuit interrupter (GFCI) outlets protect against electrical hazards in wet environments. Plan more outlets than you think necessary—typical recommendations suggest one every four feet along counters. Include dedicated circuits for high-draw appliances like refrigerators and infrared heaters. Weather-resistant covers protect unused outlets from moisture damage.
- Install separate lighting controls for task, ambient, and accent fixtures
- Use warm color temperature bulbs (2700-3000K) for inviting atmosphere
- Position task lights 30-36 inches above work surfaces for optimal illumination
- Include motion sensors for convenience and security when approaching the area
- Plan outlets with USB charging ports for modern device needs
- Consult licensed electricians familiar with outdoor kitchen requirements and local codes
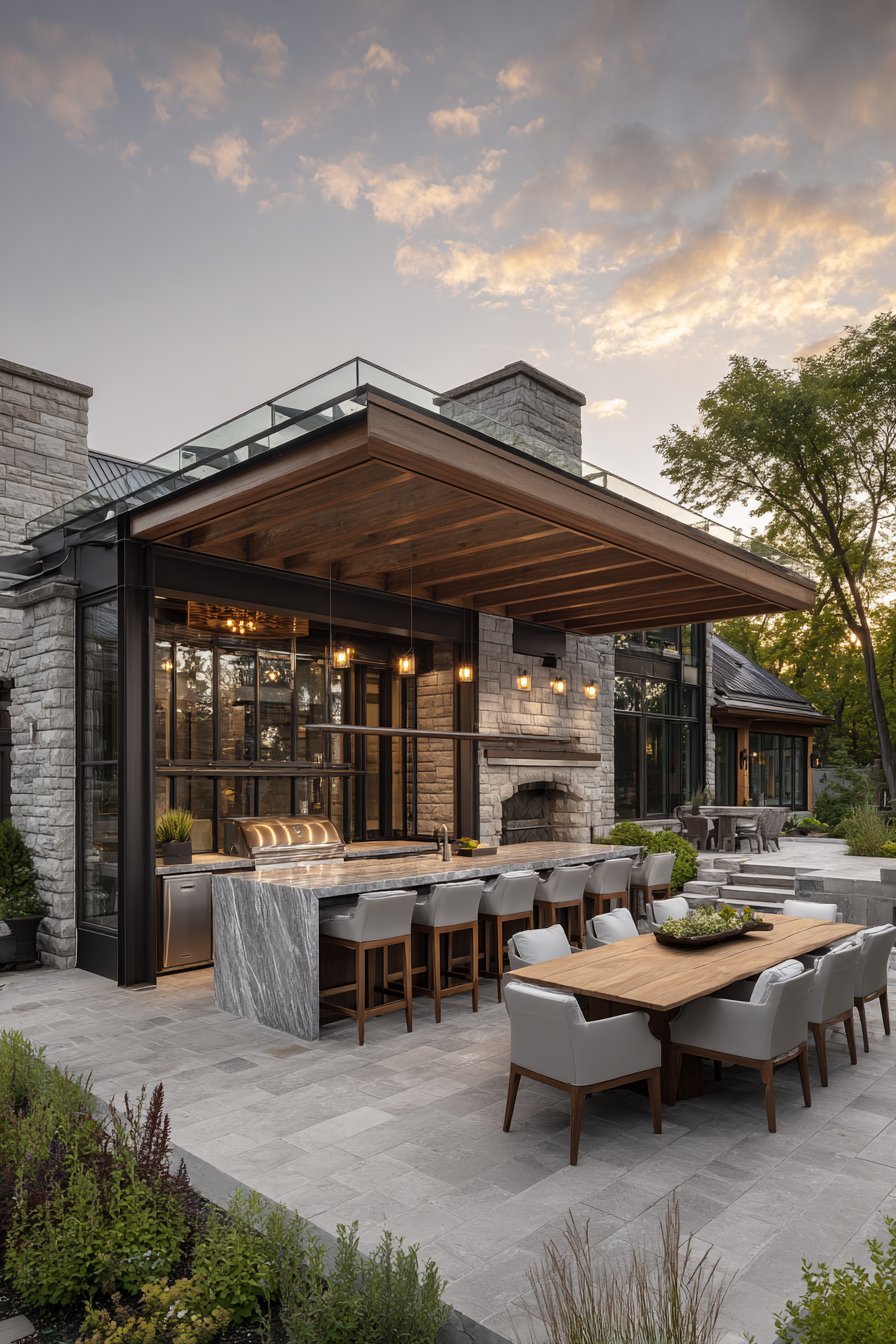
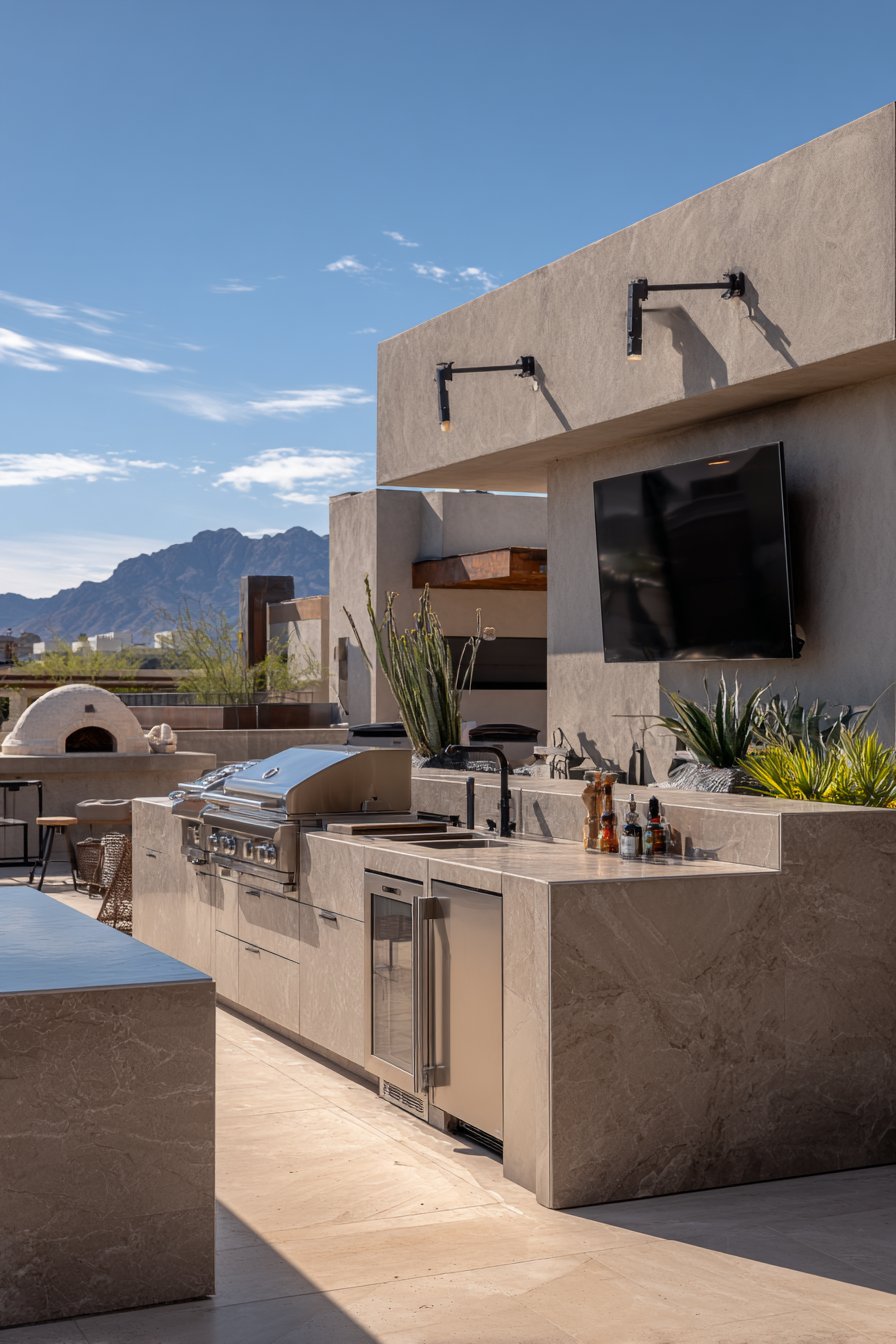
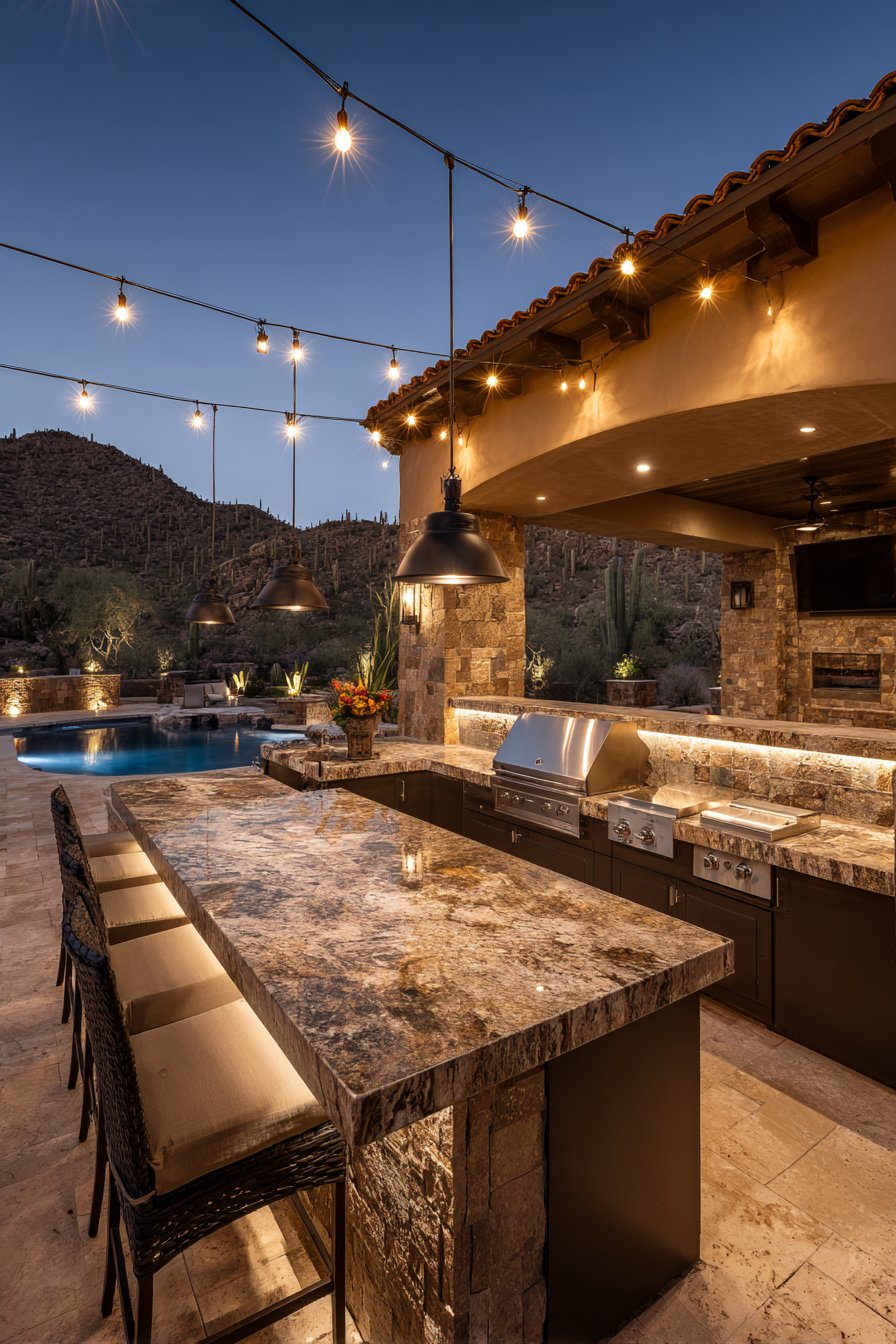
6. Seating and Entertainment Integration
Your outdoor kitchen succeeds or fails based on how well it facilitates social interaction during meal preparation and dining. An integrated bar with overhang seating keeps guests engaged with the chef while maintaining safe distance from hot surfaces. Counter height typically measures 42 inches for bar seating versus 36 inches for standard dining. Provide at least 24 inches of width per person for comfortable seating.
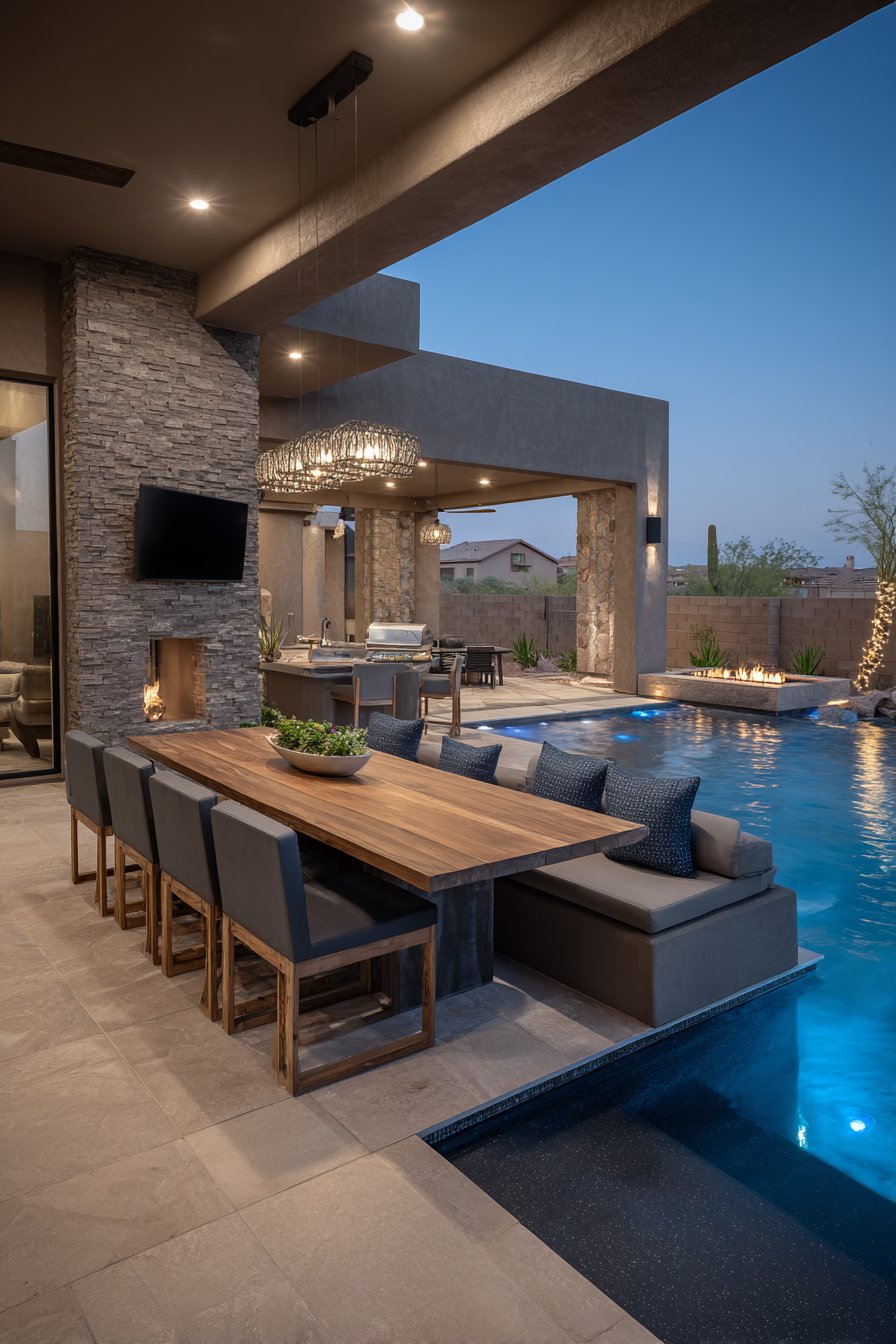
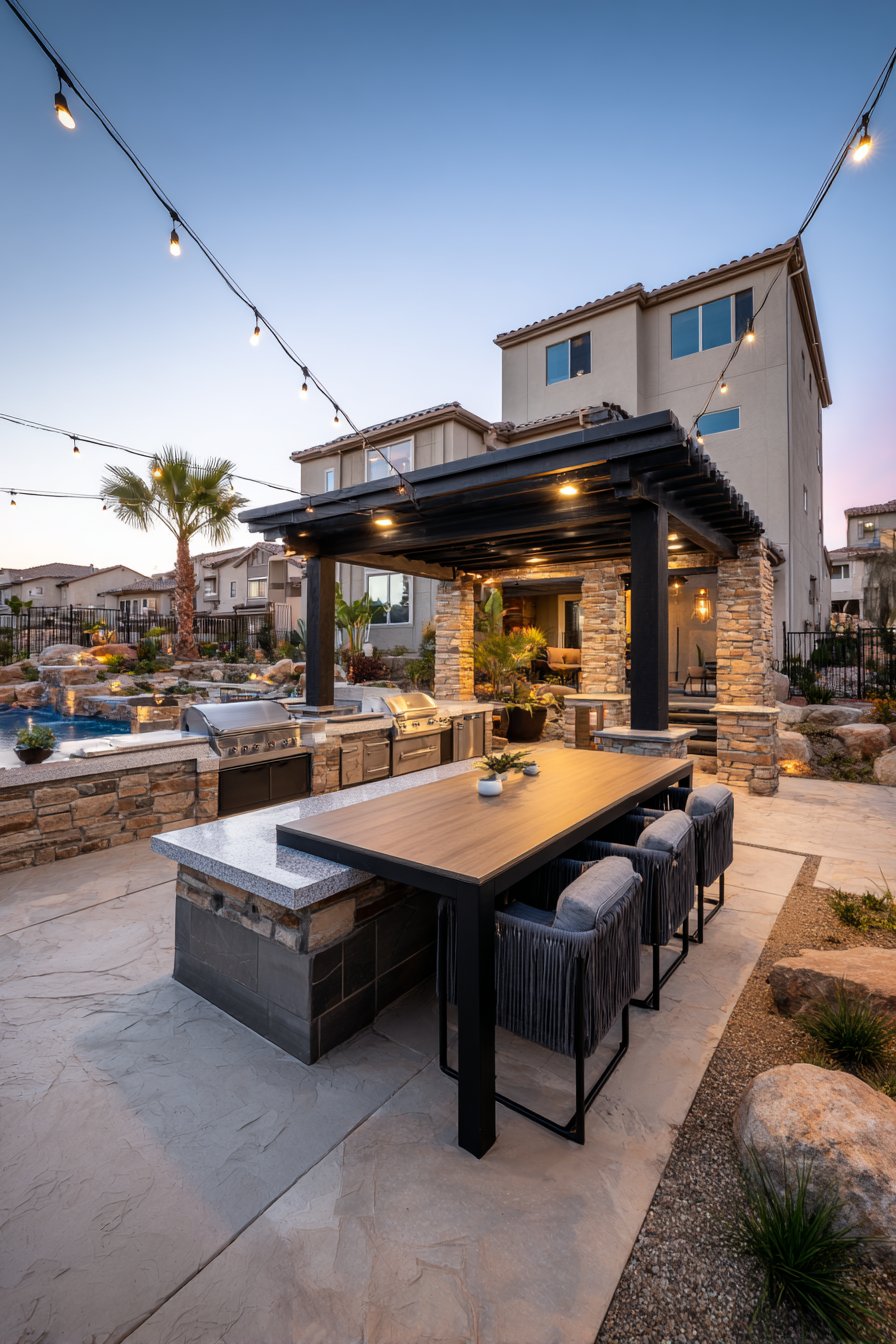
The dining area should flow naturally from the cooking zone while maintaining some separation for comfort and safety. Position tables within conversational distance but outside the main work triangle. Consider multiple seating zones for different group sizes and activities. Built-in benches with storage underneath maximize space efficiency in compact yards.
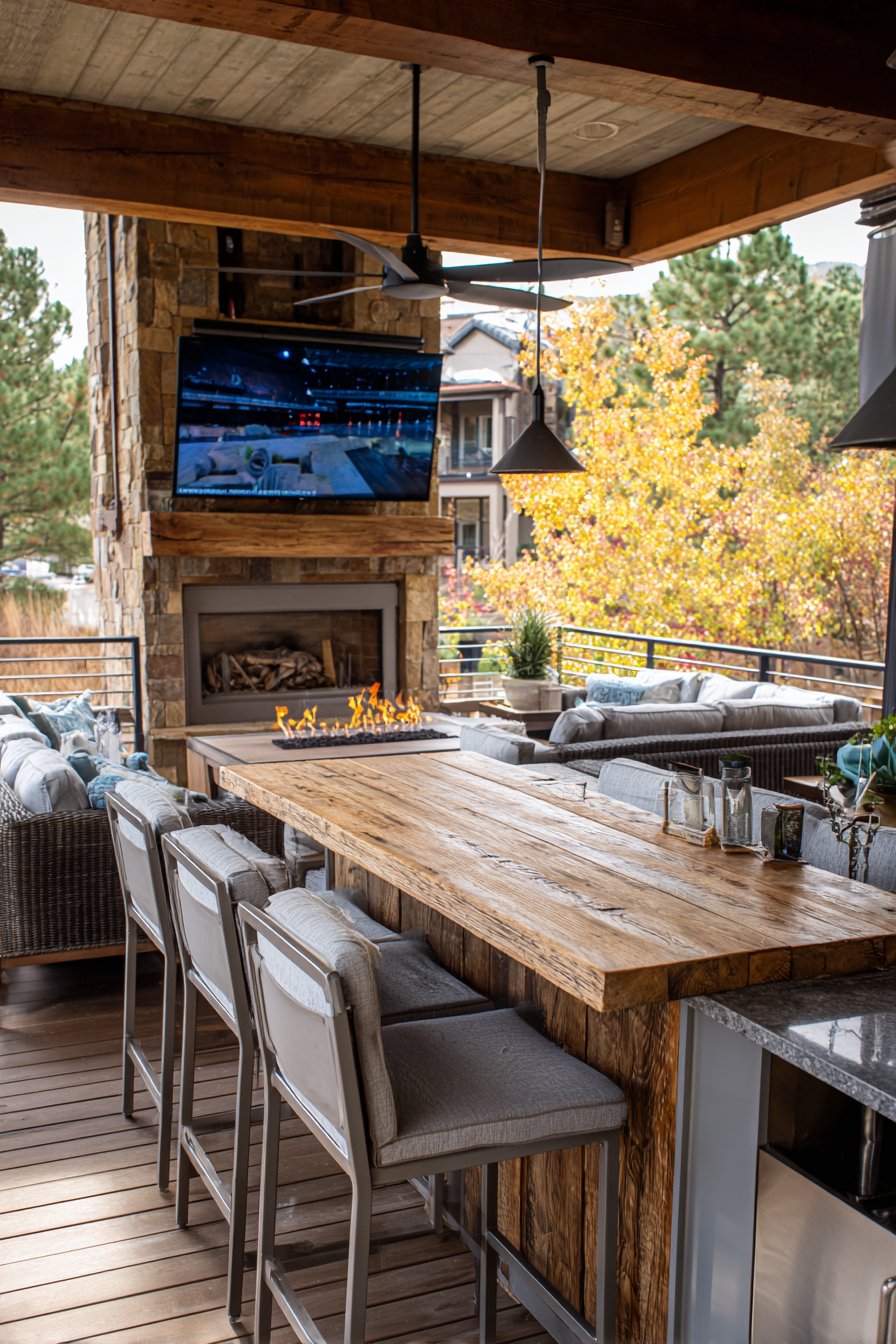
Entertainment features like outdoor televisions and sound systems transform your kitchen into a complete outdoor living room. Weather-resistant TVs withstand temperature extremes and moisture exposure better than indoor models. Wireless speakers eliminate cable clutter while providing quality sound throughout your entertainment area. Fire features like built-in fire pits or fireplaces extend comfortable outdoor time into cooler months.
- Allocate 10 square feet per person for comfortable dining area sizing
- Choose furniture materials rated for outdoor exposure like powder-coated aluminum or teak
- Install ceiling fans in covered areas for air circulation during warm weather
- Include convenient table surfaces for setting down drinks and plates near seating
- Plan shade solutions like umbrellas or retractable awnings over dining areas
- Add outdoor heaters to extend usable season in cooler climates
Conclusion
Successful outdoor kitchen design balances practical functionality with aesthetic appeal to create spaces that enhance daily living. These six tips provide the framework for planning a kitchen that serves your specific needs and budget. From strategic location selection to thoughtful appliance choices, each decision contributes to your long-term satisfaction.
Start your planning process by evaluating how you’ll actually use the space rather than copying designs that look impressive but don’t match your lifestyle. Your outdoor kitchen should feel like a natural extension of your home while offering the unique pleasures of cooking and dining in fresh air. With careful planning and quality materials, this investment rewards you with countless memorable meals and gatherings for years to come.