Transforming your bathroom with new tile is an exciting venture that can dramatically elevate both aesthetics and functionality. However, rushing into installation without proper planning can lead to costly mistakes and disappointing results. Understanding the fundamentals of tile selection, surface preparation, and installation techniques is crucial for achieving a professional-looking finish that stands the test of time.
Whether you’re tackling a complete bathroom renovation or simply updating a shower enclosure, the choices you make now will impact your space for years to come. From moisture resistance to grout selection, every decision plays a vital role in the final outcome. This comprehensive guide covers essential considerations that will help you avoid common pitfalls and ensure your tiling project succeeds beautifully.
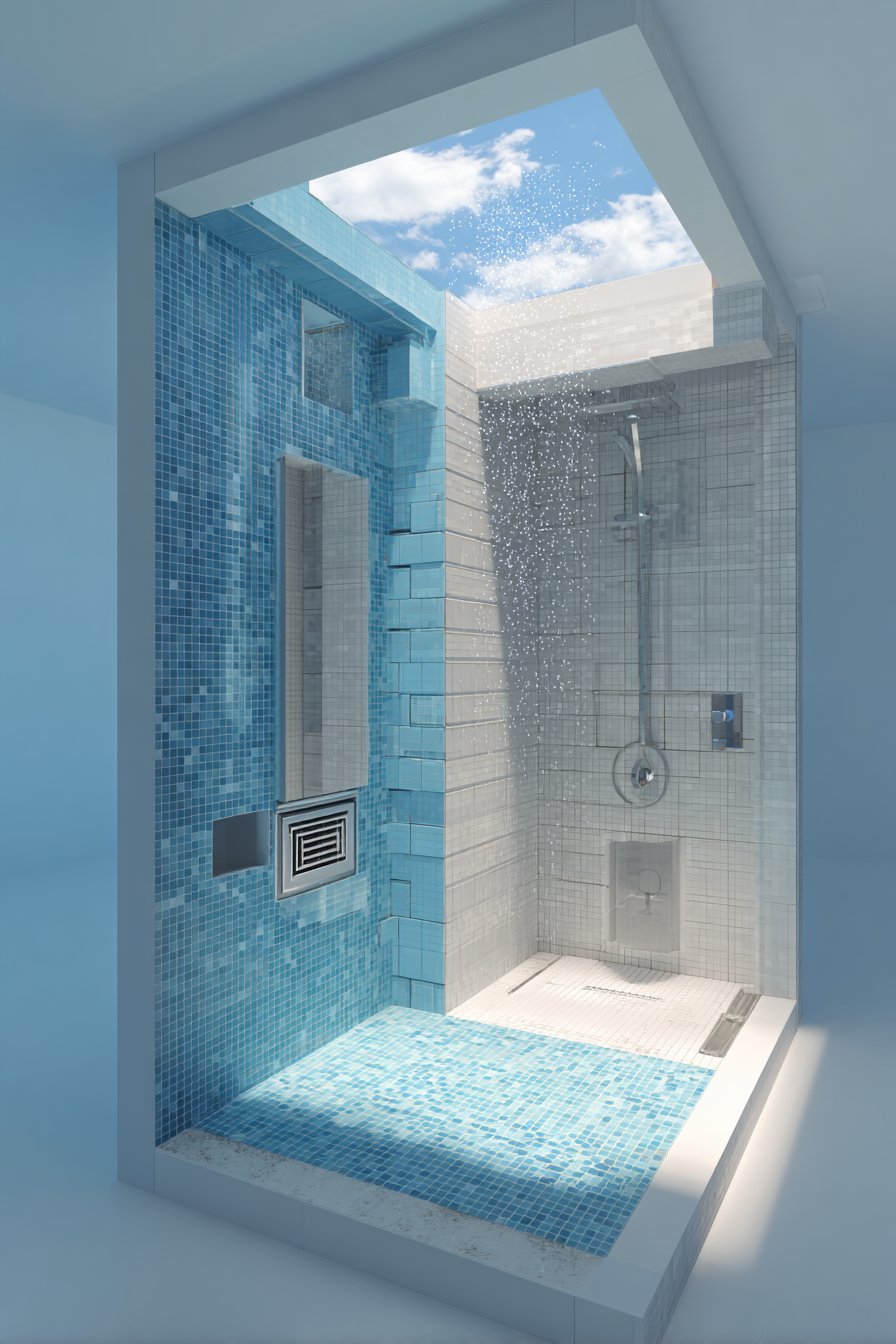
1. Understanding Your Bathroom’s Moisture Levels
Not all tiles perform equally in high-humidity environments, making moisture assessment your first priority. Bathrooms experience constant moisture exposure from showers, baths, and general humidity, which can compromise poorly chosen materials. Understanding where water accumulates most helps you select appropriate tile types for each area.
Porcelain and ceramic tiles offer excellent moisture resistance, but their water absorption rates vary significantly. Porcelain typically absorbs less than 0.5% of its weight in water, making it ideal for shower floors and walls. Ceramic tiles work well in drier bathroom areas but may not withstand direct water exposure as effectively.
Consider your bathroom’s ventilation capacity when planning tile installation. Poor air circulation increases moisture retention, potentially leading to mold growth and grout deterioration. Areas near showers and tubs require tiles with the lowest absorption ratings to prevent long-term water damage.
- Choose porcelain tiles for shower walls and floors where water exposure is highest
- Use ceramic tiles in powder rooms or areas with minimal moisture contact
- Install proper waterproofing membranes behind all wet area tiles
- Ensure adequate ventilation with exhaust fans rated for your bathroom size
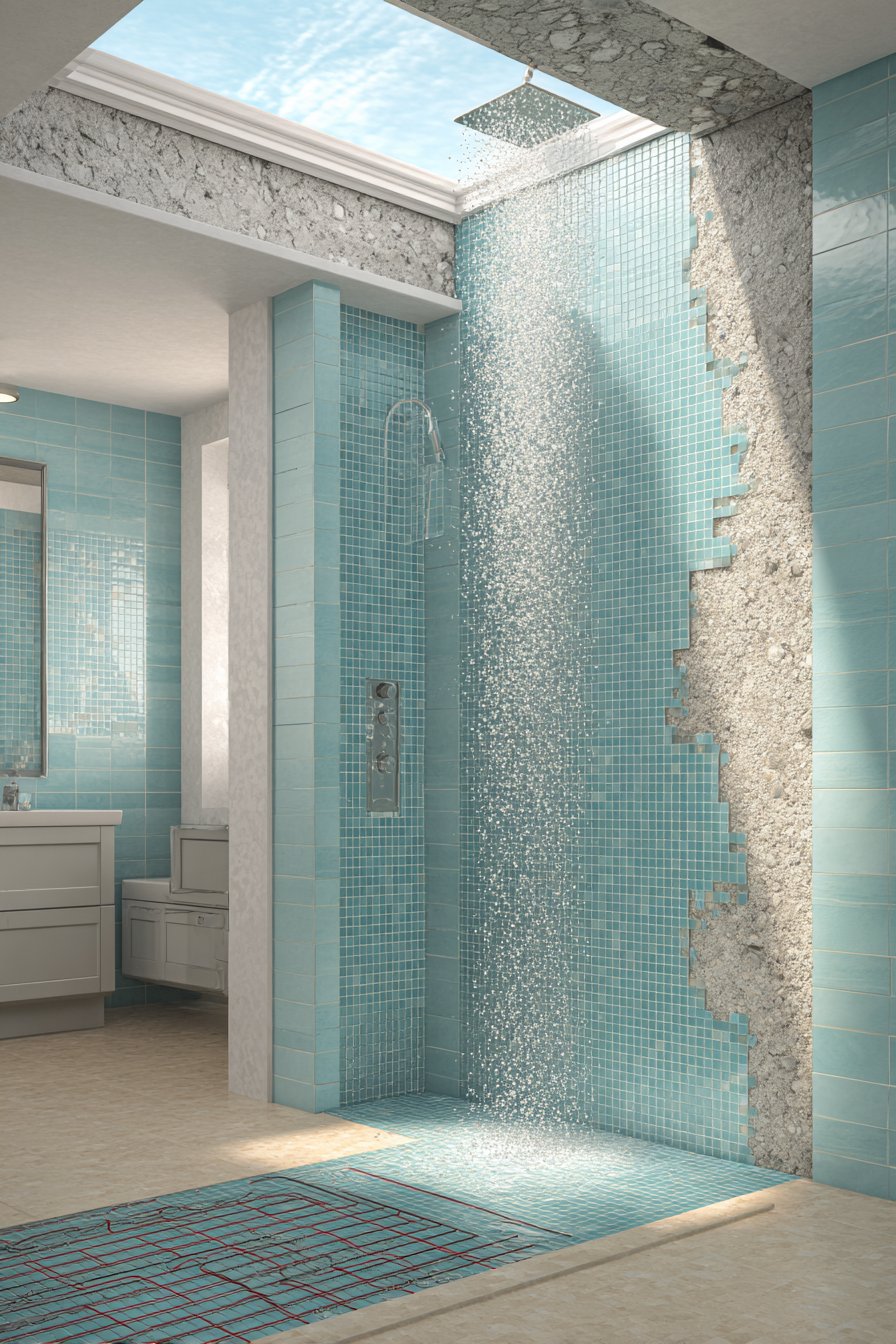
- Consider heated tile floors to reduce moisture accumulation
- Test existing moisture levels before installation using a moisture meter
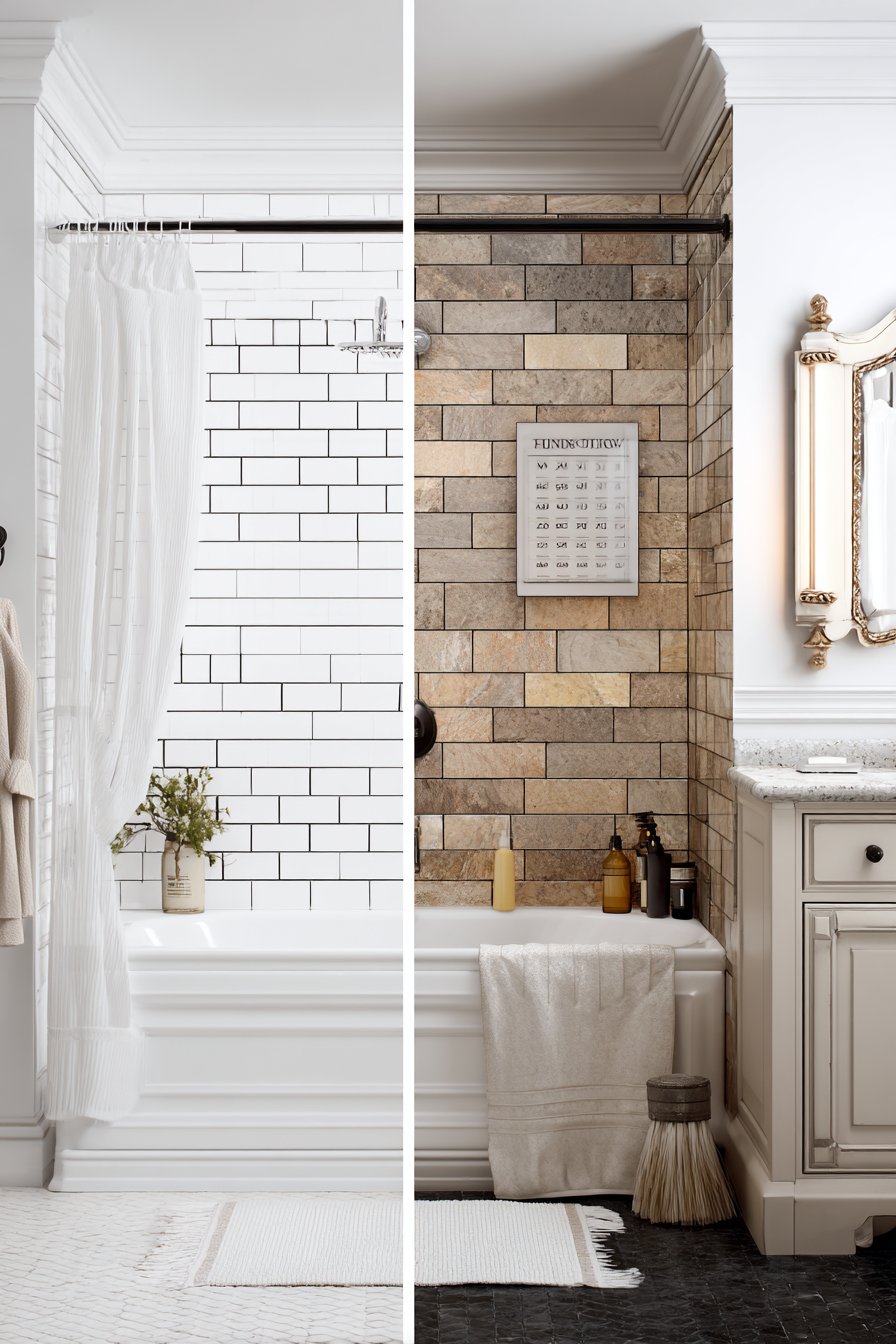
2. Selecting the Right Tile Size and Layout
Tile dimensions dramatically affect both the visual perception of space and installation complexity. Large format tiles (12×24 inches or bigger) create fewer grout lines, resulting in a more seamless, contemporary appearance. Smaller tiles offer better traction on floors and easier installation on curved surfaces.
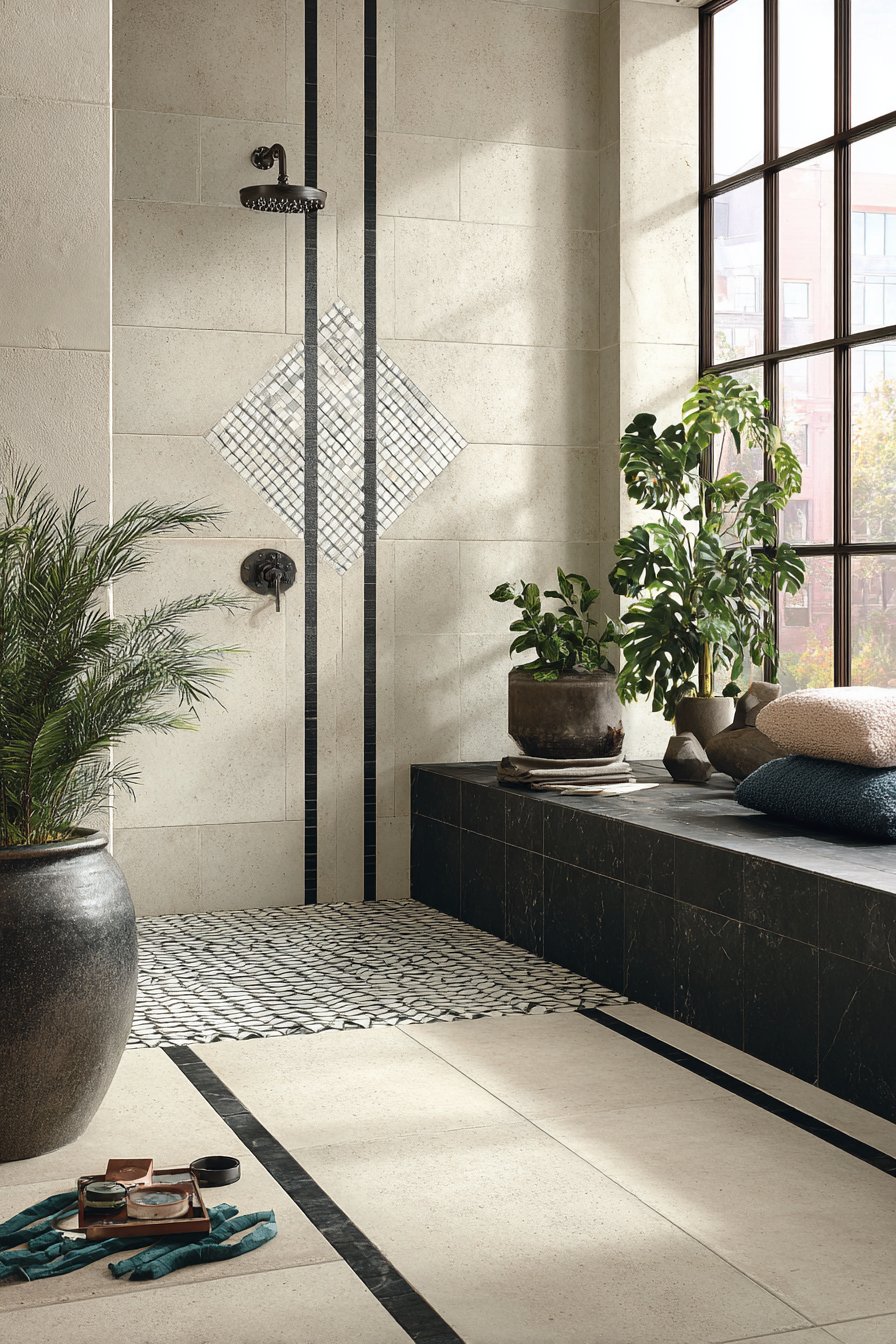
Your bathroom’s size should guide tile selection for optimal proportions. Oversized tiles in tiny bathrooms can make spaces feel cramped, while miniature mosaics throughout large bathrooms may appear busy. Consider using larger tiles on walls and smaller formats on floors for visual balance.
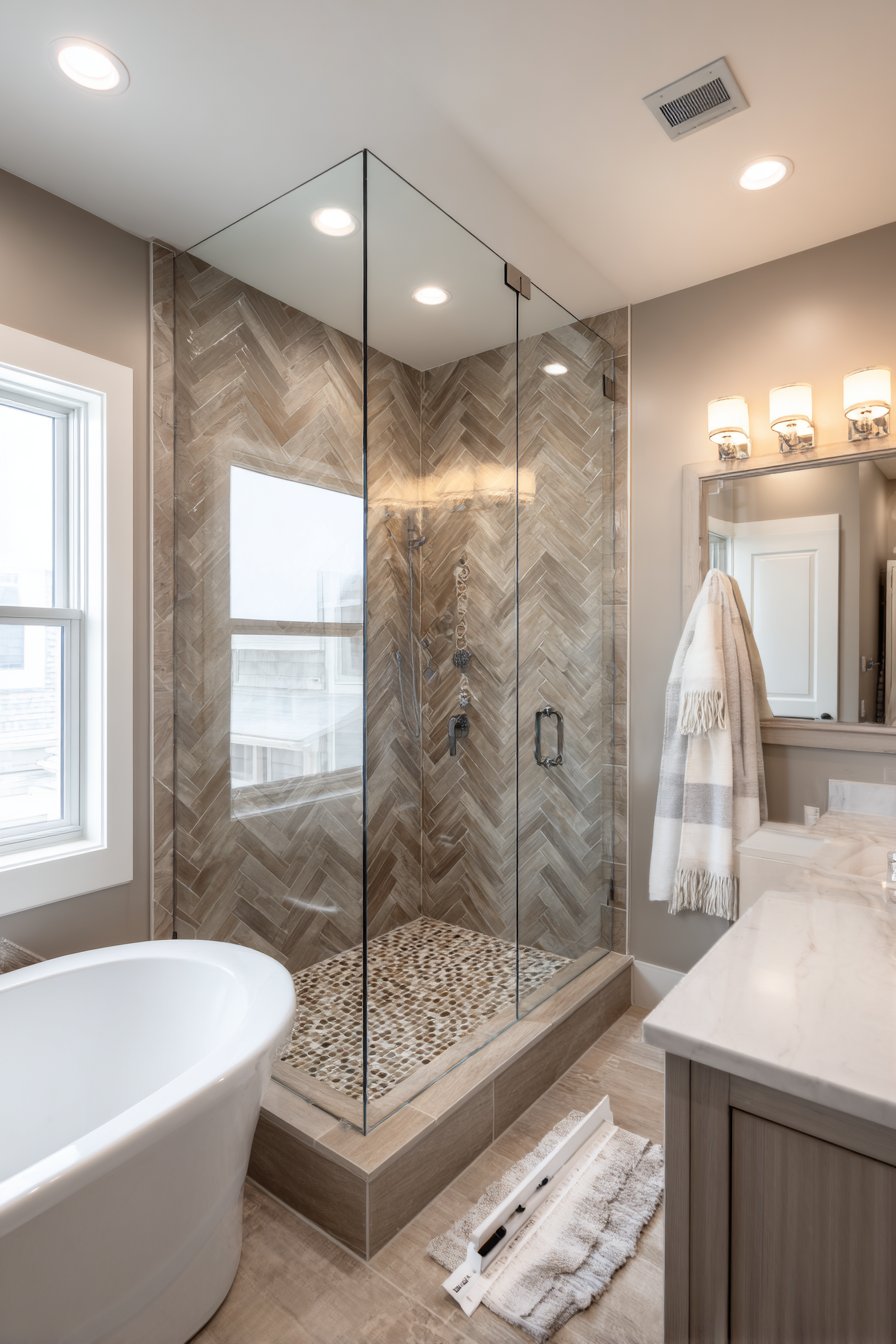
Layout patterns significantly impact material waste and labor costs. Straight-lay patterns use tiles most efficiently, while diagonal or herringbone designs require 15-20% extra material for cuts. Complex patterns also increase installation time, affecting overall project budgets.
- Measure your bathroom accurately before purchasing tiles to minimize waste
- Use large tiles on walls to create illusion of more space
- Choose smaller tiles (2×2 inches or less) for shower floors for better slip resistance
- Plan tile layout to avoid thin slivers along visible edges
- Consider rectified tiles for tighter grout lines and modern aesthetics
- Purchase extra tiles (10-15% overage) for future repairs and cuts
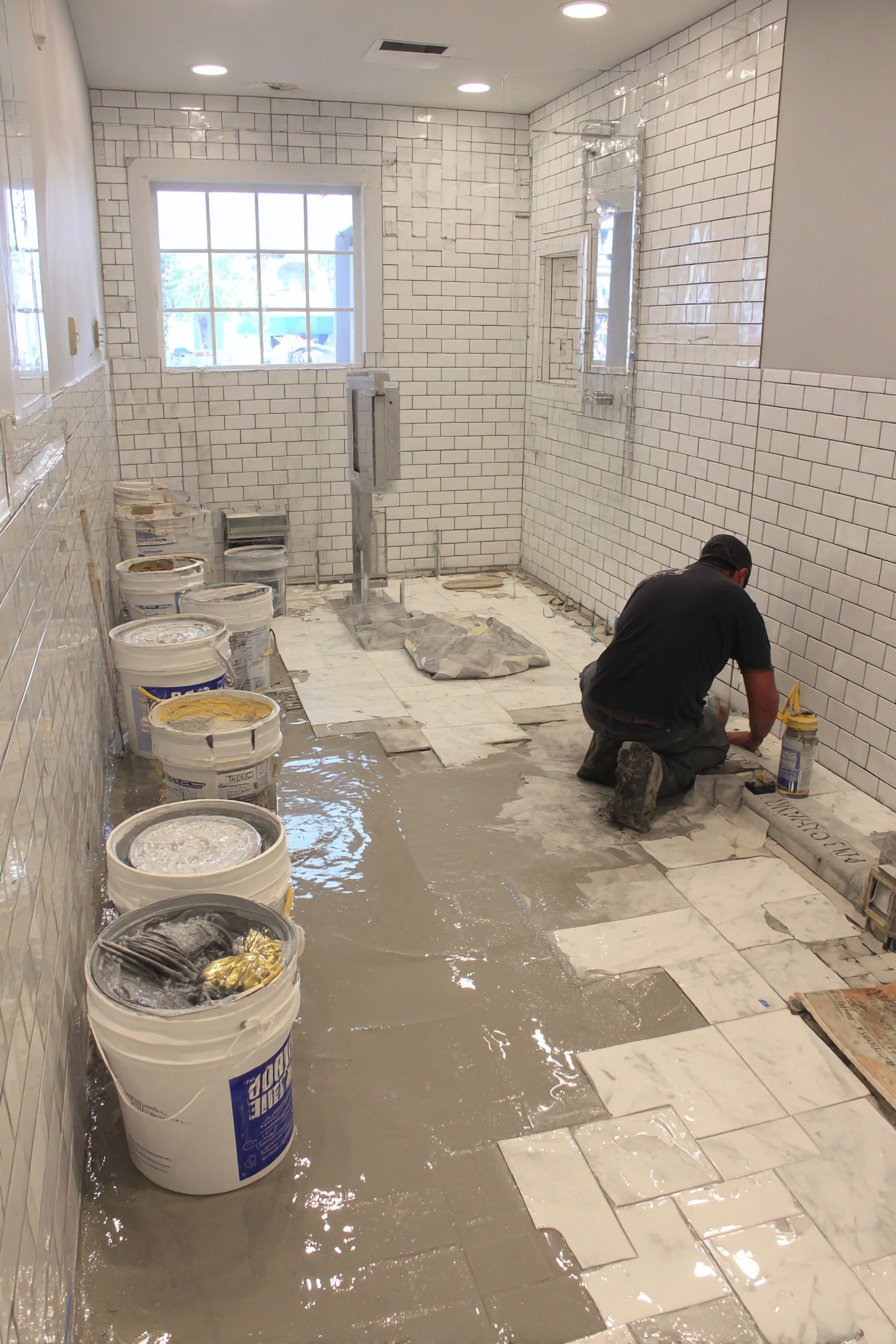
3. Evaluating Surface Preparation Requirements
Proper substrate preparation determines whether your tile installation lasts decades or fails within years. Uneven surfaces create weak spots where tiles crack under pressure or detach entirely. Every surface requires specific preparation methods before tile adhesion can succeed.
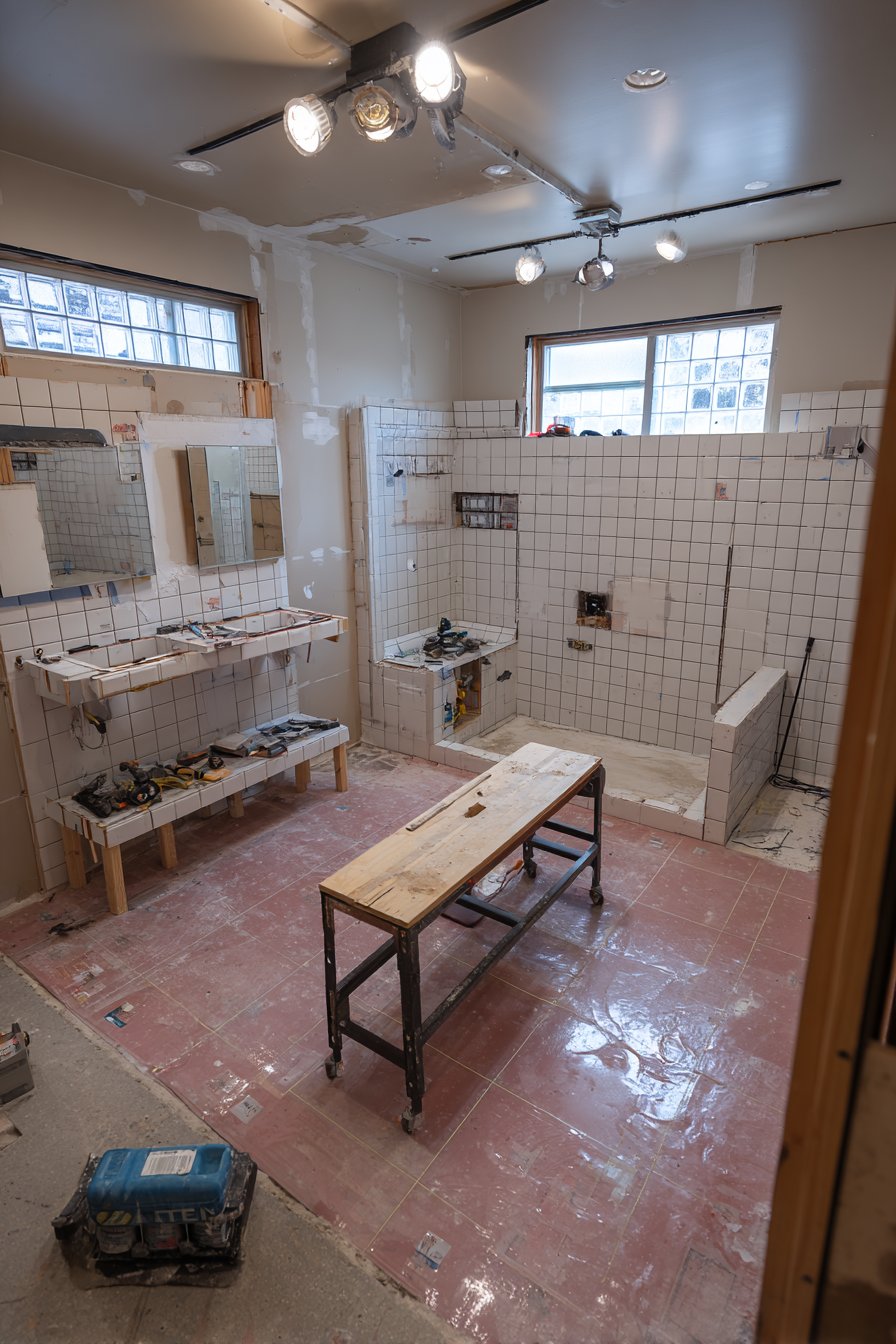
Existing wall and floor conditions must meet strict flatness standards. The industry standard allows only 1/8 inch variation over 10 feet for floor tiles. Walls require similar precision to prevent lippage, where tile edges protrude unevenly. Self-leveling compounds and skim coats address these irregularities effectively.
Different substrates demand unique preparation approaches. Concrete floors need cleaning and sometimes grinding, drywall requires moisture-resistant backing boards in wet areas, and old tile surfaces must be thoroughly roughened. Backerboard installation in shower areas provides essential moisture protection and structural stability.
- Remove all loose paint, wallpaper, and debris from surfaces before starting
- Install cement backerboard on walls in shower and tub surrounds
- Apply waterproof membranes on floors before tile installation
- Check surface flatness using a long straightedge or laser level
- Fill low spots with appropriate patching compounds and allow proper curing
- Ensure substrates are completely dry before applying thin-set mortar
4. Choosing Compatible Adhesives and Grout
The mortar and grout you select must match your tile type and installation location. Modified thin-set mortar contains polymers that improve adhesion and flexibility, ideal for most bathroom applications. Unmodified thin-set works better with natural stone tiles that can discolor from polymer additives.
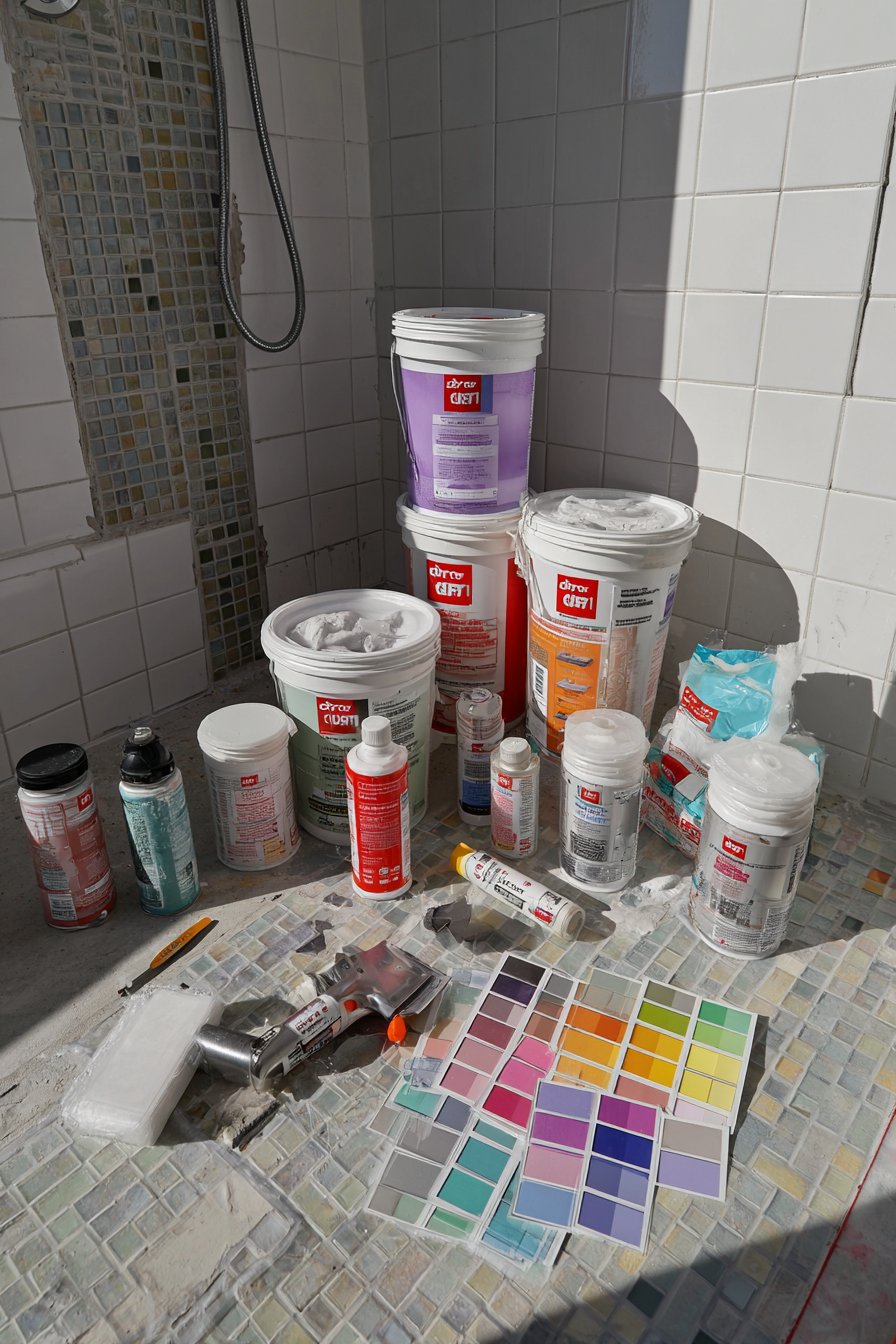
Grout selection impacts both aesthetics and maintenance requirements. Epoxy grout resists staining and moisture better than traditional cement-based options, making it perfect for shower floors. However, epoxy costs more and requires careful application within limited working time windows.
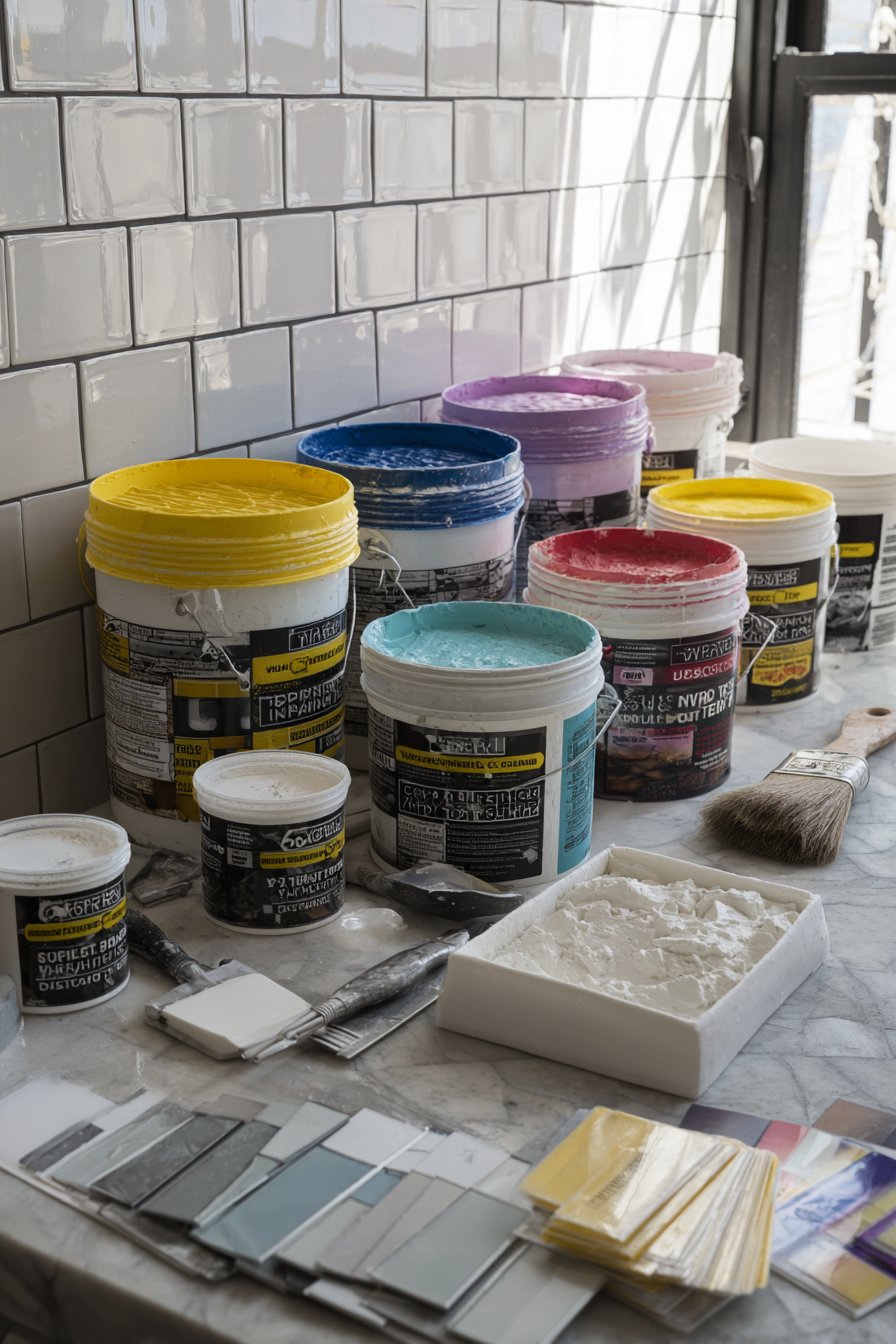
Color consistency between grout batches can vary, affecting your bathroom’s final appearance. Purchase all grout from the same manufacturing lot, and mix only what you can apply within the recommended timeframe. Grout width also matters—larger tiles typically look best with 1/8 to 1/4 inch grout lines.
- Match mortar type to your specific tile material and thickness
- Use white thin-set mortar with translucent tiles to prevent shadowing
- Choose epoxy grout for areas with heavy water exposure and staining risk
- Select grout colors that complement tile colors while hiding minor dirt
- Apply grout sealer after installation to protect against moisture and stains
- Allow mortar to cure fully (typically 24-48 hours) before grouting
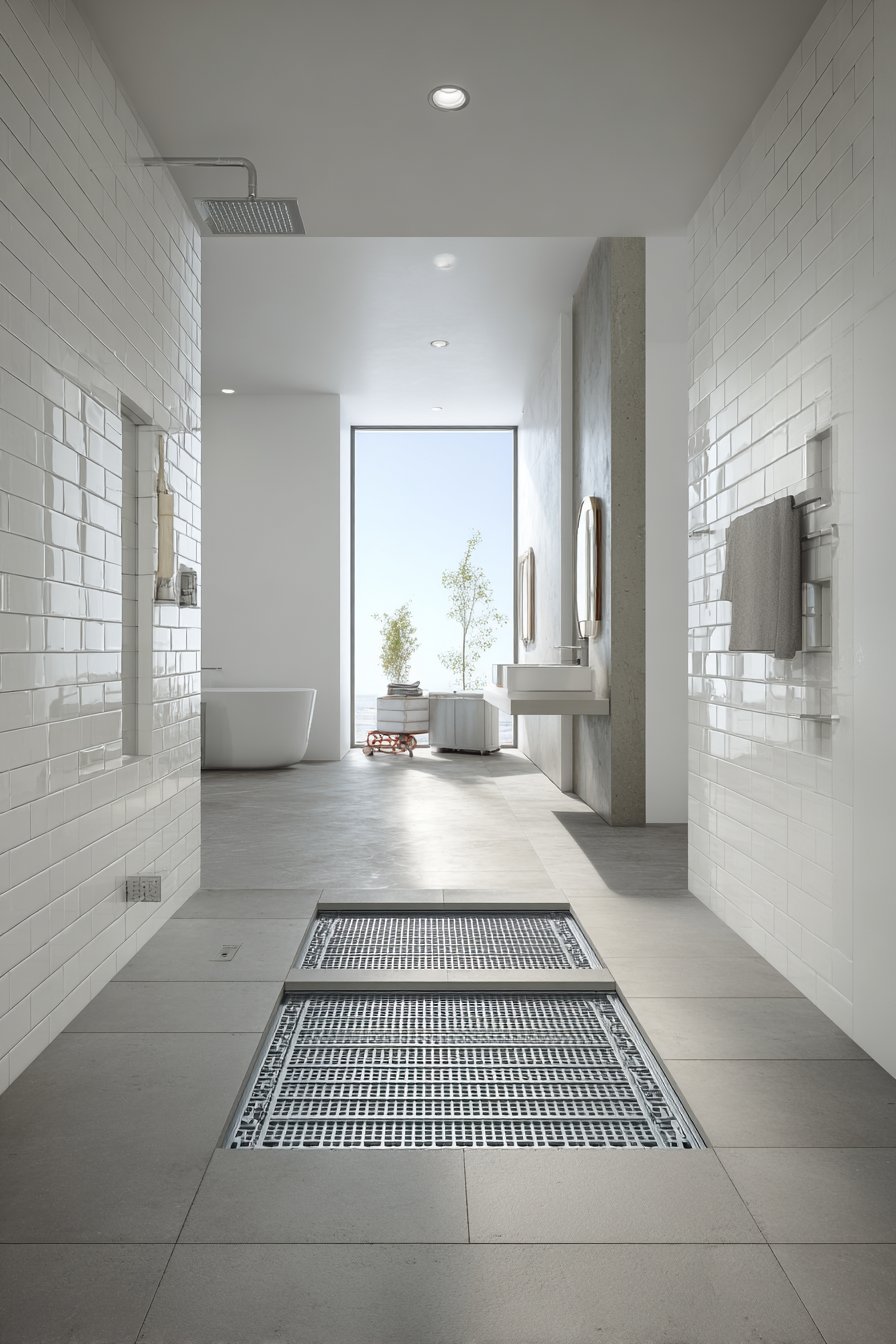
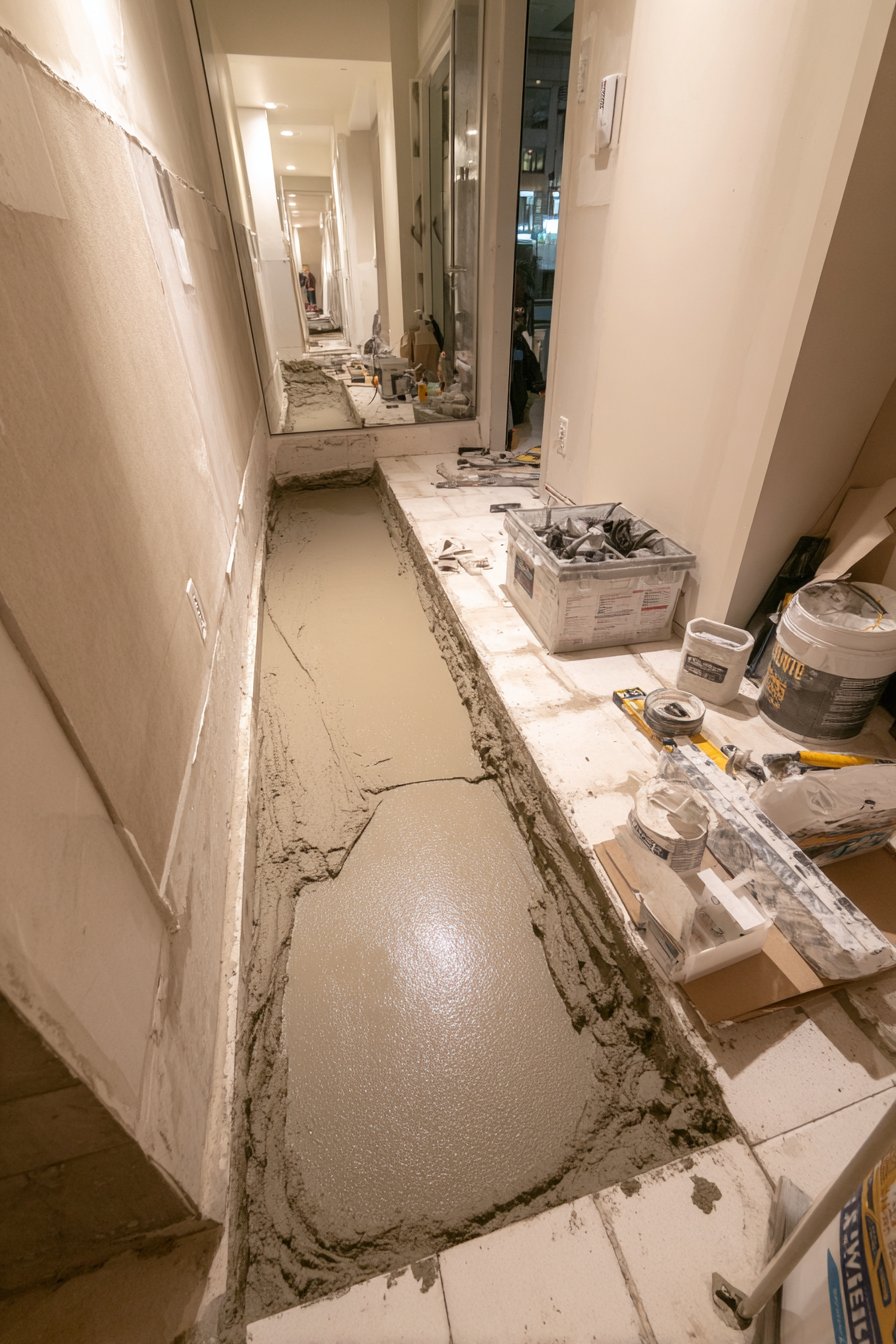
5. Planning for Proper Drainage and Slopes
Adequate water drainage prevents pooling that leads to mildew growth and structural damage. Shower floors require a minimum slope of 1/4 inch per foot toward the drain. Without proper pitch, water accumulates in low spots, creating slip hazards and cleaning nightmares.
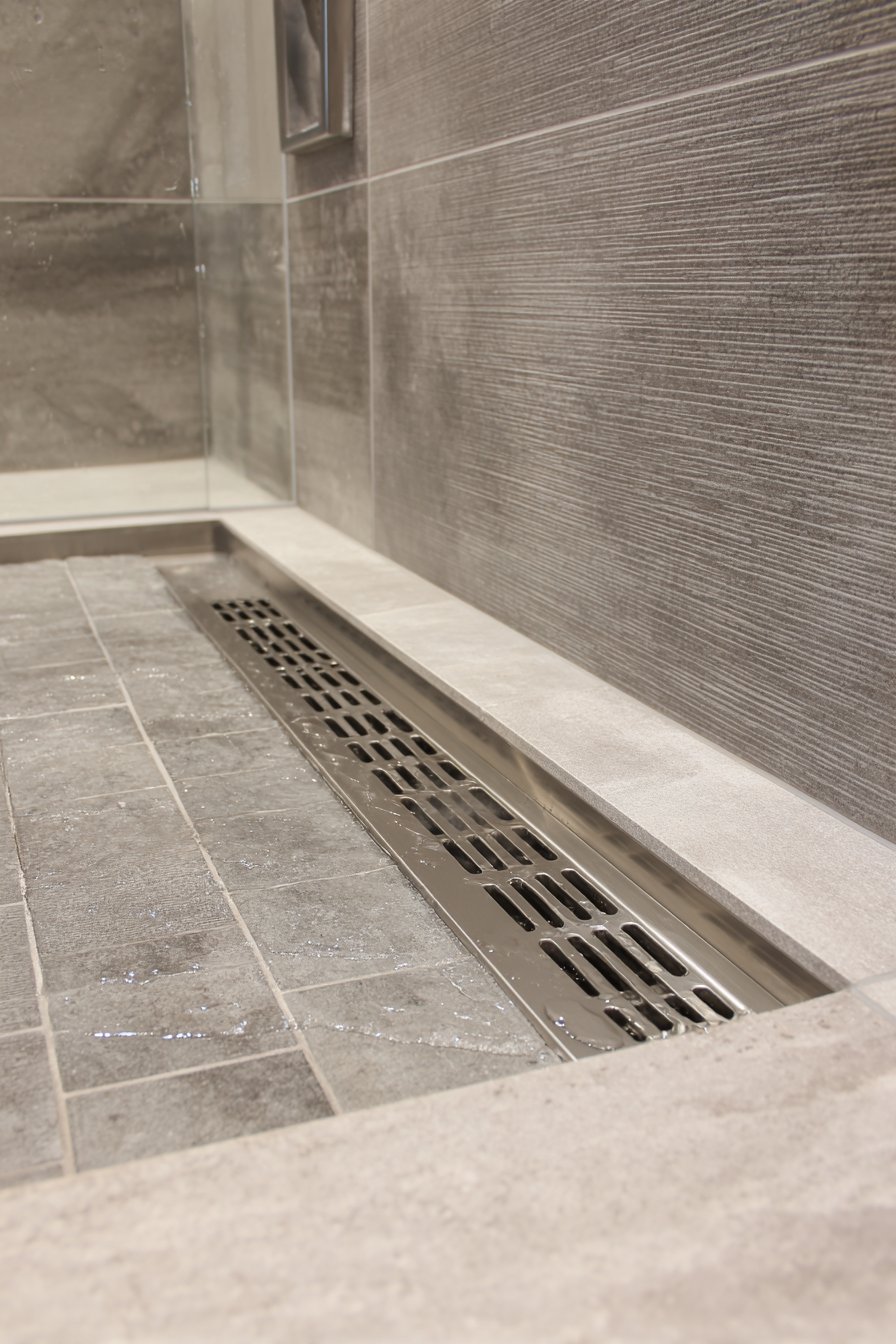
Pre-sloped shower pans simplify installation while ensuring correct drainage. These foam or mortar bases come with built-in slopes and waterproof membranes, reducing installation errors. Custom mud-bed construction offers more design flexibility but requires experienced installers to achieve proper grades.
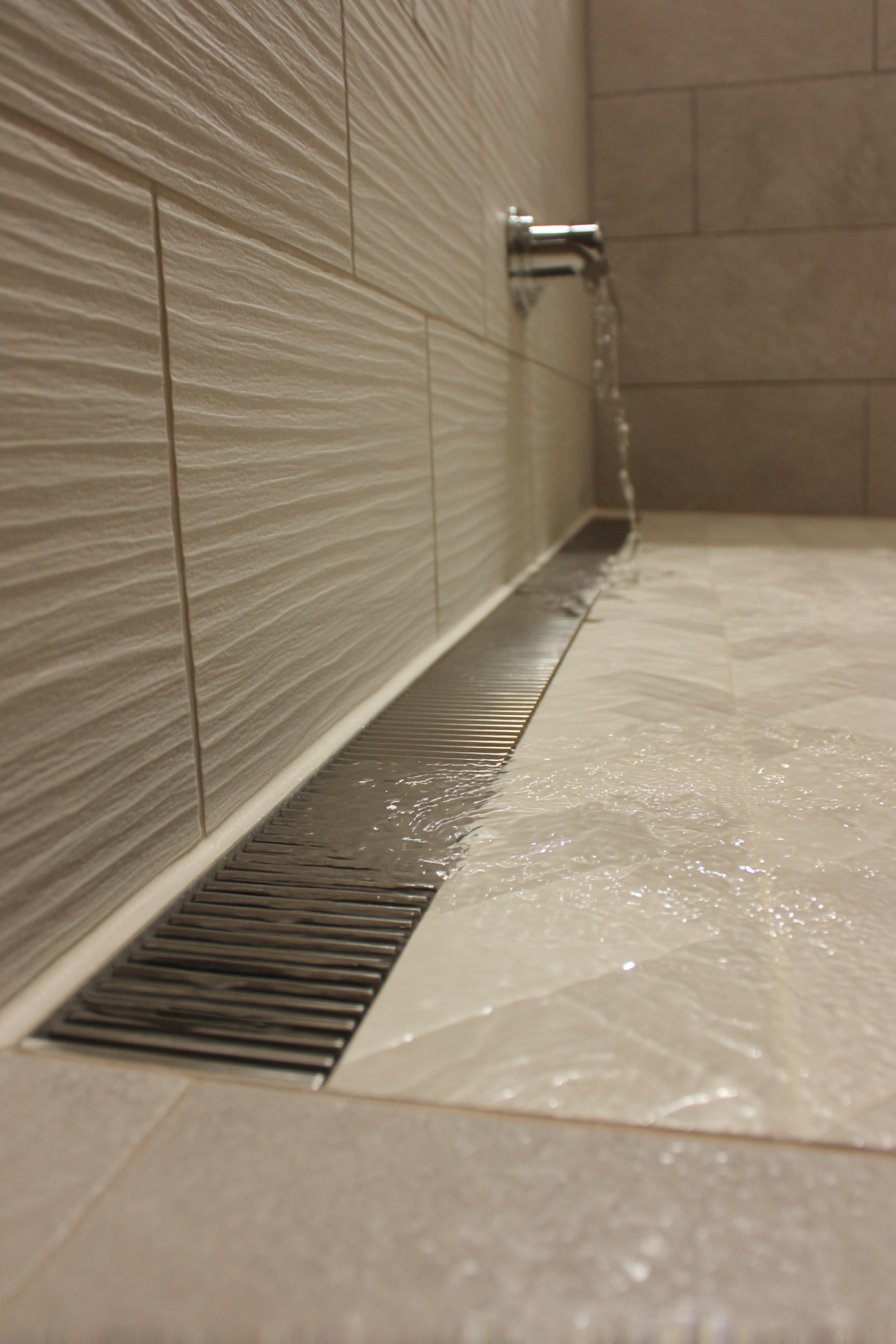
Floor tile selection affects drainage efficiency. Smaller tiles with more grout lines provide better traction but may channel water less efficiently than large format tiles. Consider textured or matte-finish tiles for shower floors to improve slip resistance while maintaining drainage.
- Install linear drains for contemporary aesthetics and improved water flow
- Use smaller tiles on shower floors to follow slopes more naturally
- Verify slope accuracy with a level during pan installation
- Position drains at the lowest point in shower enclosures
- Test water flow before final tile installation to confirm proper drainage
- Consider heated floors that help evaporate standing water quickly
6. Understanding Long-Term Maintenance Needs
Different tile materials and finishes require varying maintenance commitments. Glazed ceramic tiles resist staining naturally and need only regular cleaning with mild detergents. Natural stone tiles demand periodic sealing and specialized cleaning products to maintain their appearance.
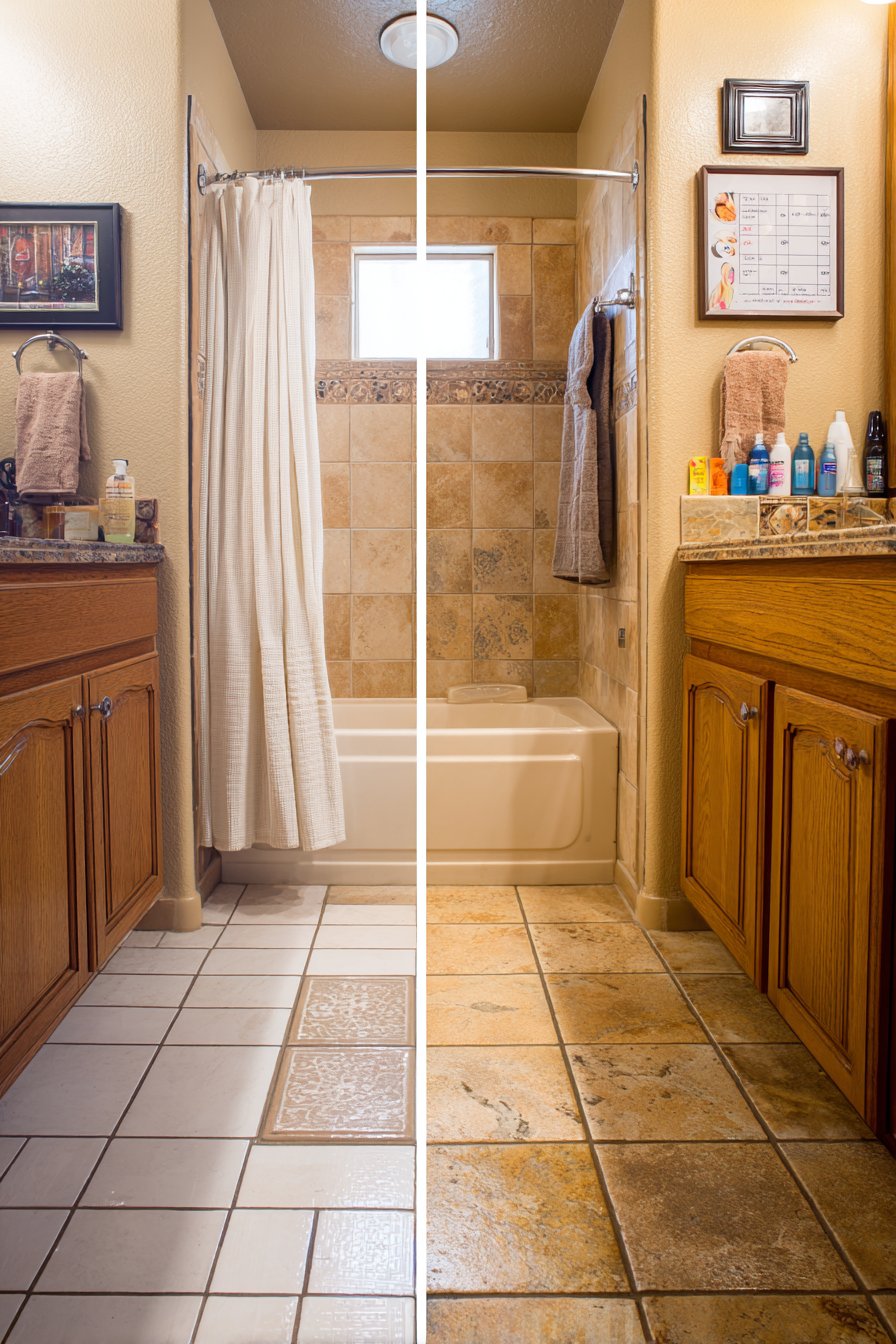
Grout maintenance often exceeds tile care in time and effort requirements. Light-colored grout shows dirt quickly, requiring more frequent cleaning, while darker grout colors hide stains better. Epoxy grout eliminates most maintenance concerns but costs significantly more upfront.
Planning for future repairs influences initial tile selection. Discontinuing tile lines means you cannot match replacements if damage occurs. Purchase extra tiles during installation to ensure perfect matches for future needs, storing them properly to prevent damage or fading.
- Seal natural stone tiles immediately after installation and annually thereafter
- Clean grout lines regularly to prevent mold and discoloration
- Store extra tiles in a dry location for future repairs
- Use pH-neutral cleaners to avoid damaging tile surfaces and grout
- Reseal grout every 1-2 years in high-traffic shower areas
- Address cracked tiles immediately to prevent water infiltration and further damage
Conclusion
Successful bathroom tile installation depends on thorough planning and informed decision-making at every stage. By understanding moisture requirements, selecting appropriate materials, and preparing surfaces correctly, you create a foundation for lasting beauty and functionality. Remember that quality preparation outweighs speed in achieving professional results.
Take time to research products, compare options, and possibly consult professionals for complex aspects of your project. The investment you make in planning and proper materials pays dividends through years of low-maintenance enjoyment. Your thoughtfully tiled bathroom will become a personal sanctuary that combines practical durability with aesthetic excellence for years to come.